Start with the join, not the bottle
The best adhesive for an art project depends on more than the names of the two materials. A paper collage pressed flat under glass asks little of its bond; a fabric panel hanging from a frame may pull on the join every day. Before choosing a product, ask whether the pieces must stay flat, bend, bear weight or survive handling. Consider whether a visible glue line would become part of the work—or distract from it.
Think about how the adhesive behaves while you work. A fast-setting bond can be useful for a small, well-planned assembly, but it leaves little time to reposition a piece. A slower-drying adhesive may offer more control, though it can require clamping or weights. If future removal matters, investigate reversible mounting methods rather than assuming any glue can be undone cleanly. Keep a small offcut of each material for tests before committing to the finished piece.
Paper: control moisture and spread
Paper absorbs moisture and can wrinkle, curl or change color when an adhesive is applied too heavily. For lightweight collage and mounting, a thin, even layer of an adhesive intended for paper is often easier to manage than a thick bead. Support the sheet on a clean surface, work from the center outward when smoothing it, and allow it to dry under suitable, clean weights if the process calls for them. Test first: different papers respond differently, especially thin, coated or highly textured sheets.
Adhesive choice also affects how a paper work may age. If long-term stability matters, look for products described as suitable for archival paper work and check their intended use; a label alone cannot guarantee how every combination will perform. For temporary layouts, corners, tabs or mechanical mounts may be preferable to covering the back of an image with glue. They can also preserve the texture of a sheet that is meant to lift slightly from the wall.
Fabric: allow for movement
Fabric shifts, stretches and frays in ways rigid materials do not. A stiff adhesive may hold a small patch but create an unwanted hard area across a larger textile. For flexible fabric-to-fabric joins, choose a product intended to remain flexible, then try it on a scrap to see whether it changes the fabric’s color, hand or drape. Apply sparingly where bleed-through would be visible. Let the test piece cure fully before bending it or hanging it.
When attaching fabric to wood, paper or a panel, the mounting method matters as much as the adhesive. A broad, evenly supported attachment may behave better than a few stressed glue spots. For works that can be stitched, tied, wrapped or stapled to a hidden support, those methods may make replacement or adjustment easier. If a textile will hang in an exhibition, test the proposed join in its intended orientation rather than judging it only while it lies flat on a table.
Wood and plastic: prepare for different surfaces
Wood is porous, while many plastics are smooth and difficult to bond. For clean, close-fitting wood-to-wood joins, a wood adhesive can be a sensible starting point; keep the pieces steady during curing and follow the product’s guidance on pressure and drying time. Dust, loose paint and uneven contact can weaken the result. If the joint will carry significant weight, consider whether screws, brackets or another mechanical connection are more appropriate than adhesive alone.
Plastic requires a more specific test because the word covers many materials. Some plastic types bond readily with a compatible adhesive; others resist common glues. If you know the plastic type, check the adhesive’s stated compatibility. If you do not, test an inconspicuous offcut and assess the bond after it has fully cured. Gentle cleaning and, where appropriate, light abrasion may help on some surfaces, but either step can alter a visible finish. Do not assume that a strong bond on wood will also work on plastic.
Make a sample before making the artwork
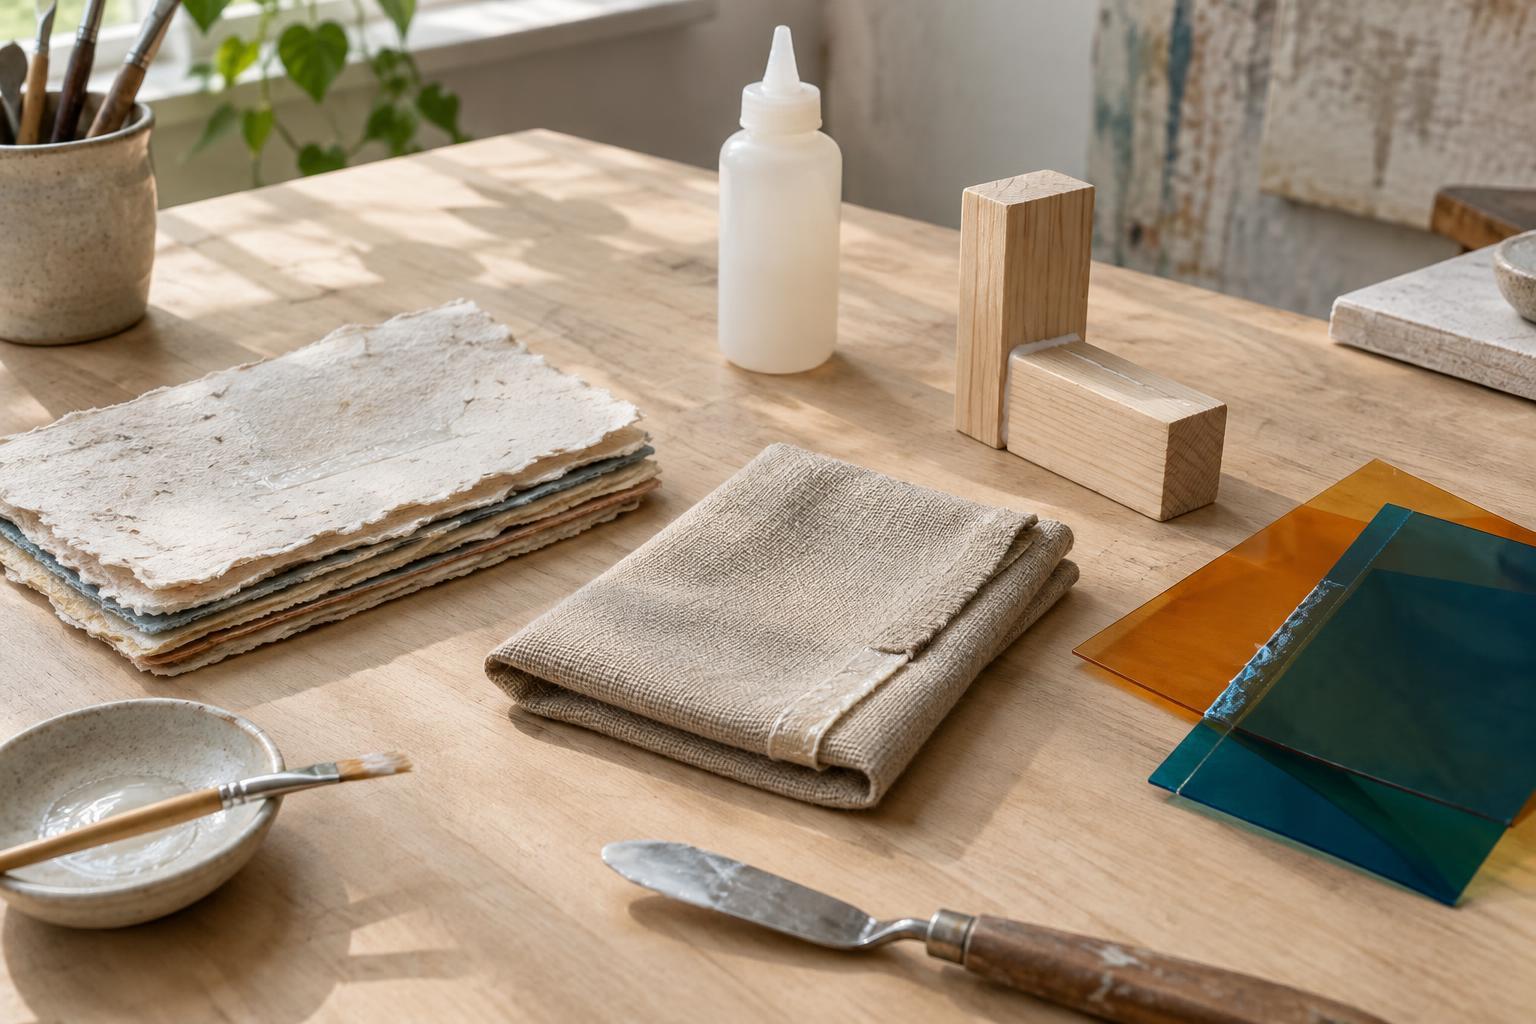
A useful sample repeats the real conditions of the piece: the same surfaces, amount of adhesive, orientation and expected movement. Label the sample with the product and application method, then check for warping, staining, seepage and bond failure after it has cured. For a layered installation, try lifting or flexing the sample in the way the finished work will be handled. This small rehearsal can reveal problems that are hard to correct once an artwork is assembled.
Read the product instructions for surface preparation, curing and ventilation, particularly when using solvents or strong adhesives. Protect the work surface and avoid combining products unless their instructions support it. Adhesive is one tool among many: tabs, stitching, clamps and fasteners can sometimes make a cleaner, more adaptable artwork. Choosing well means matching the joining method to both the material and the experience you want the finished piece to create.