Start with the surface you want viewers to notice
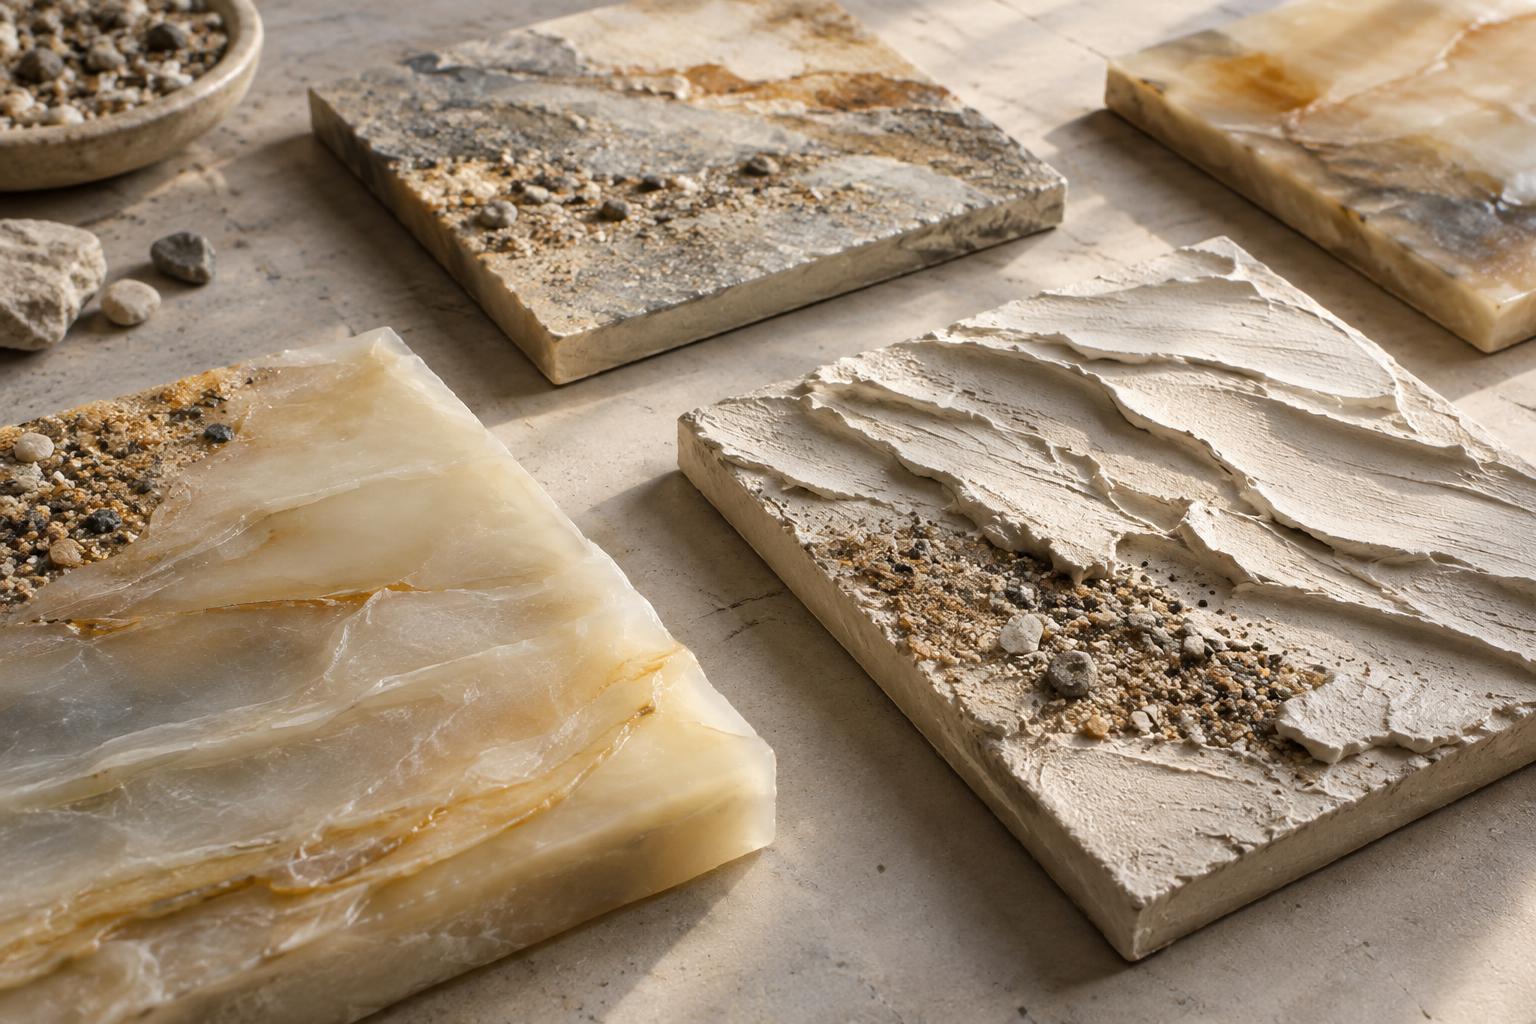
Texture can change a work before a viewer identifies its imagery. A raised ridge catches light; a shallow scrape interrupts a smooth field; a scattering of grit makes a surface appear dry or weathered. Wax, paste and aggregate can produce all three effects, but they do not behave alike. Wax tends to soften edges and create translucent or muted layers. Paste holds tool marks and can build more defined relief. Aggregate adds individual particles that interrupt both touch and light.
Before opening a container, decide what the texture needs to do. Is it meant to be visible across a room, or discovered up close? Should it cover the whole support or mark a single area? A small test on the same kind of support will answer more than a description on a product label. Mark each test with the materials and layer order you used so you can repeat a result rather than guess how it happened.
Choose a stable support and build in stages
A rigid panel is often easier to work with than flexible paper or canvas when planning substantial relief. As a textured layer dries or hardens, a flexible support may bend or allow brittle areas to crack. Clean and prepare the support according to the material manufacturer’s guidance, especially if you are combining products. A material that adheres well to one ground may lift from another.
Begin with thin, modest areas instead of covering the entire surface at once. Apply a layer, let it reach the state recommended for that product, then decide whether the next layer is needed. This approach makes it easier to judge weight, adhesion and the effect of each mark. It also leaves room for smooth passages, which can make raised areas more noticeable. Photographing tests under side lighting can reveal ridges and gaps that are difficult to see in flat, even light.
Use wax for softened edges and layered light
Wax can create a surface that looks both built up and worn down. Depending on the formulation, it may be spread, rubbed, scraped or buffed. A thin application can settle into marks beneath it, while a thicker one can partially obscure them. Try working over a scratched test surface: apply a small amount, remove some from the high points, and observe where the wax remains. This can give a shallow texture more visual depth without adding much height.
Treat wax as a specific material rather than a universal finishing layer. Cold wax products, heated wax methods and ordinary candles are not interchangeable, and their compatibility with paints or grounds varies. Follow the chosen product’s instructions, test adhesion, and avoid assuming that a wax layer will protect an unstable surface underneath. If a method calls for heat, use equipment and precautions appropriate to that product; do not heat an unfamiliar mixture simply to make it easier to spread.
Shape paste, then introduce aggregate selectively
Texture paste is useful when a mark needs to remain legible after the tool is lifted. A palette knife can leave broad planes, a comb can pull repeated grooves, and a stiff brush can stipple a low, irregular relief. Change one variable at a time on a test panel: the tool, the pressure or the thickness. Some pastes shrink or change appearance as they dry, so judge the final surface only after the test has settled.
Aggregate is a collection of particles added to a surface or medium: fine sand, prepared grit or other suitable granular material, for example. Particle size affects the result. Fine grains may read as an overall roughness, while larger ones cast distinct shadows and can compete with painted marks. Mix only materials the binder can hold, and test whether particles remain attached after drying. Sprinkling aggregate onto an overly thick wet layer may create loose material rather than a durable texture.
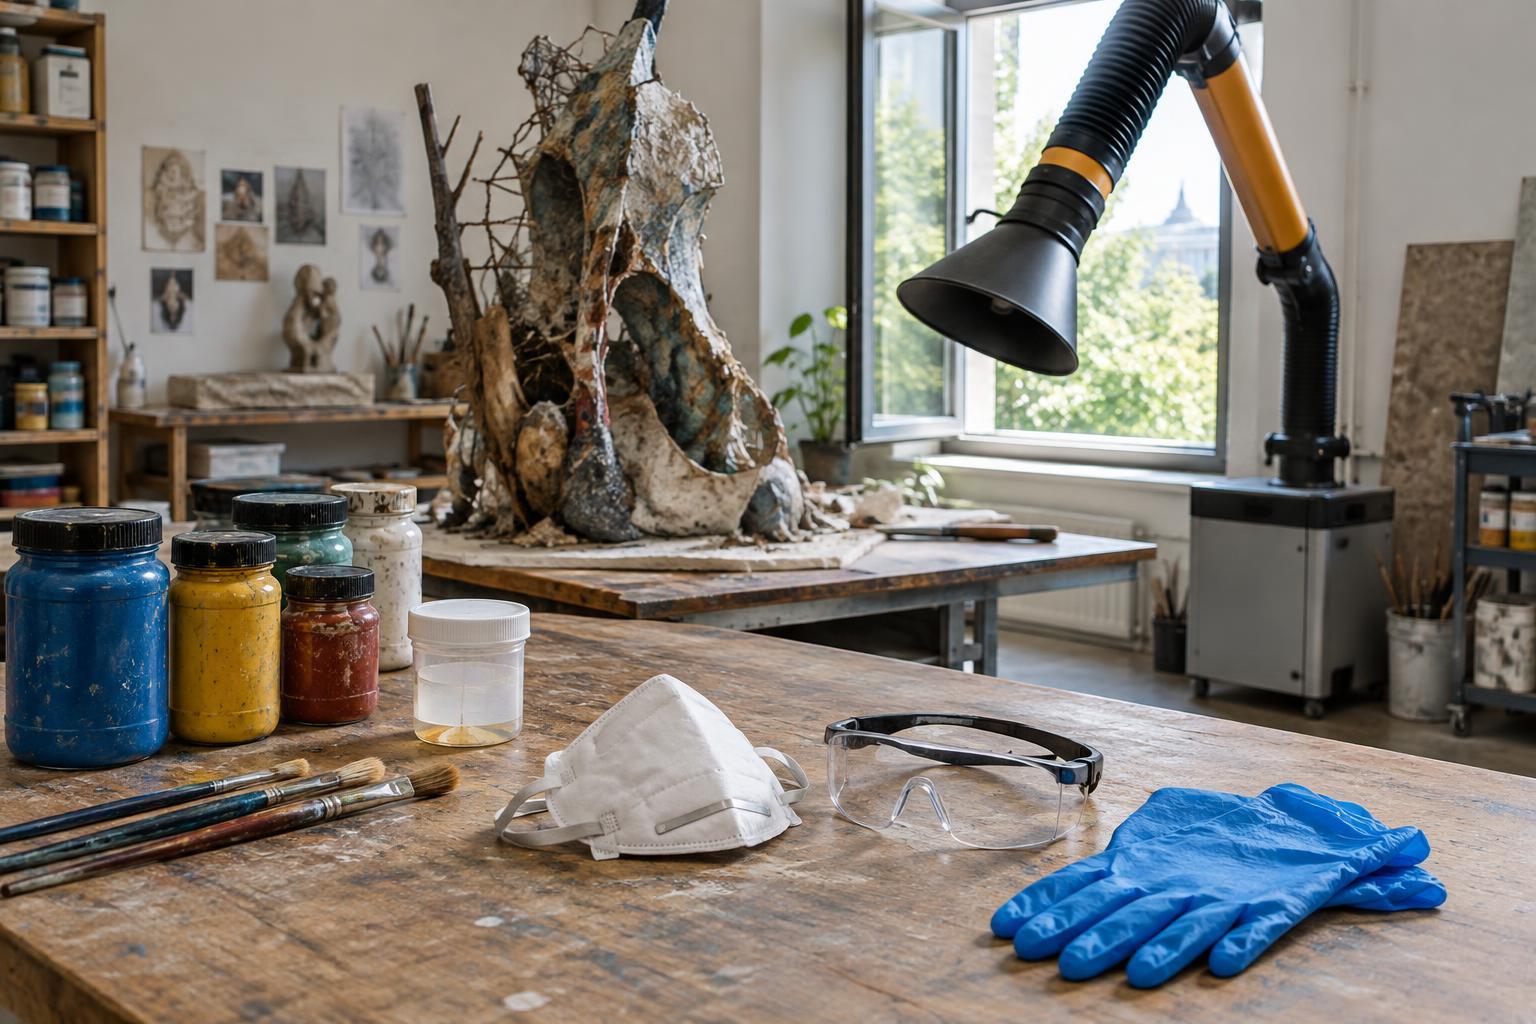
Keep preparation and cleanup in mind. Fine particles can become airborne, and sanding dried texture can create dust. Avoid breathing dust, follow product handling guidance and clean in a way that does not spread loose particles. If you use found materials, consider whether they contain dirt, salts or substances that could stain or weaken the work over time.
Let light and distance make the final decision
Once a test has dried or hardened, move it between diffuse and raking light. Look from the distance at which the work might be displayed, then move closer. A dramatic ridge on the worktable may disappear from across a room; a small glossy wax area may become the first thing visible under a nearby light. These observations can guide where to add texture and, just as importantly, where to stop.
A convincing textured surface does not need every material in equal measure. Paste might establish the main forms, aggregate might interrupt one edge, and wax might quiet a passage that feels too sharp. Keep the combinations that serve the work’s visual rhythm. By testing on the intended support and observing the result under changing light, you can treat texture as a deliberate part of the composition rather than an effect added at the end.