Think of thickness as part of the form
In hand-building, wall thickness affects more than the weight of an object. It influences how a slab bends, whether a coil can support the next layer and how evenly a piece dries. A delicate edge beside a heavy base may look intentional, but the two areas will lose moisture at different rates. As they shrink, that difference can put stress on the form.
An even wall is a useful starting point, not a rule against variation. Before building, decide which areas need to carry weight and which can be thinner. Check thickness as you work by looking at exposed edges and gently feeling both sides of an accessible wall. If you add clay to make a ridge or projection, consider what that addition does to the thickness beneath it. A gradual transition is often easier to dry than an abrupt change from a thin sheet to a solid lump.
Build walls that support themselves
Pinching, coiling and slab-building each offer a different way to control thickness. When pinching a hollow form, rotate it often and work around the whole wall rather than finishing one side first. With coils, aim for a steady size and blend each new layer into the one below without pressing so hard that the wall becomes thin at the join. For slabs, use guides on either side of the clay while rolling if you want a more consistent starting thickness.
Clay firmness matters as much as measurement. A very soft slab may stretch when lifted, creating thin spots you did not intend. Letting it stiffen slightly before assembly can make its shape easier to preserve. Conversely, forcing a stiff slab into a tight curve may invite cracking. Small changes in sequence—cutting, waiting, then bending or joining—can make a form more manageable without changing its design.
Large or projecting elements need particular attention while the clay is soft. Temporary supports can hold a span or overhang in place, provided they can be removed without pulling on the work. Hollowing a bulky element may reduce the contrast between its drying behavior and that of nearby walls. If a form will be fired, discuss suitable construction and firing requirements with the studio or kiln operator before committing to an unusual structure.
Treat joins as transitions, not seams to hide
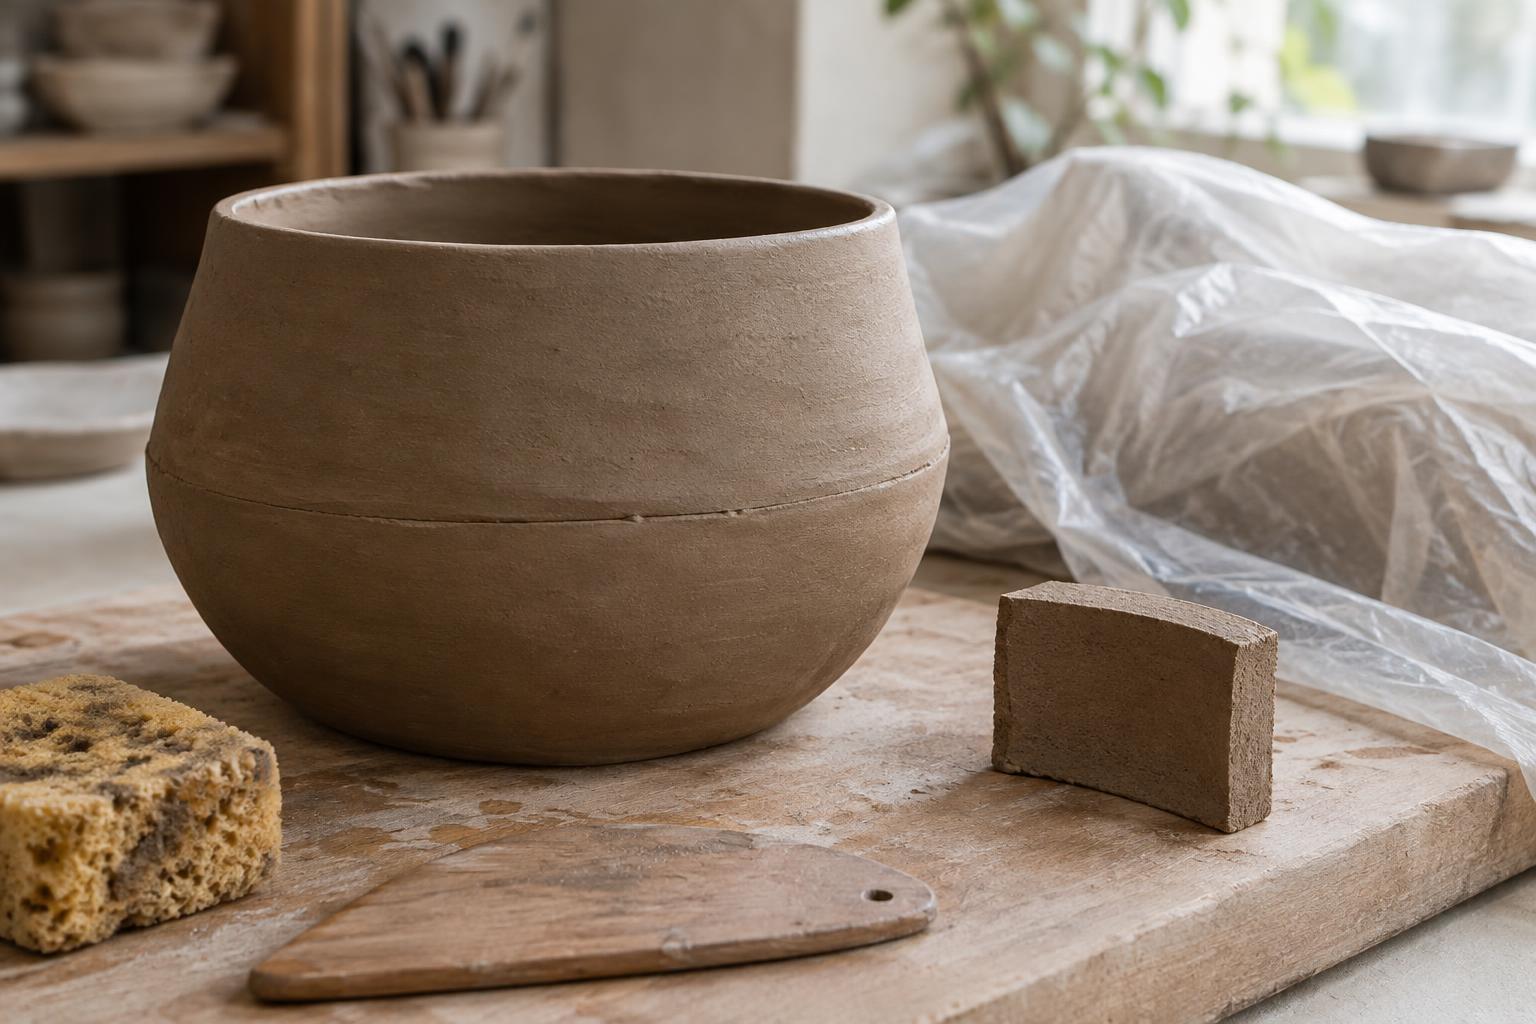
A joined piece needs good contact between its parts. Score the mating surfaces, apply an appropriate amount of slip or moisture for the clay you are using, and press the pieces together firmly. Then compress and blend the join where you can reach it. A neat line on the outside is not enough if the pieces barely touch underneath. On a structural join, an added coil of clay can help bridge the transition, but it should be integrated rather than simply placed over a gap.
Try to join parts at compatible stages of firmness. A wet attachment on a much drier body may shrink more as it dries, while a stiff attachment can be difficult to press into contact. When the stages do not match, pause and adjust your process rather than relying on extra slip alone. For repeated components, making a small test join can reveal how the clay responds to your chosen method.
Dry the whole piece, not just its surface
Drying is often uneven because exposed rims, corners and thin projections lose moisture faster than thick or sheltered areas. The underside of a form can stay damp where it rests on a nonabsorbent surface. Turn or reposition a piece when it is firm enough to handle, and check areas that receive less air. A board that absorbs some moisture may help a base dry, though it can also draw water from that area quickly; observe the result rather than assuming one setup suits every piece.
Loose plastic covering can slow drying and give moisture more time to equalize. If a rim is drying ahead of the body, cover that area more closely while allowing the thicker parts some airflow. Open the covering gradually as the piece becomes more uniform. Avoid putting wet work in direct heat to speed the process: a dry-looking surface can conceal a damp interior.
Drying time varies with clay body, thickness, form and room conditions, so use the piece itself as your guide rather than a fixed schedule. Look for changes in color and feel across the object, including its base and joins. Before firing, follow the studio’s guidance for confirming that a piece is dry enough.
Let constraints inform the experiment
Thickness and drying do not have to limit expressive work. A visible coil, a compressed seam or a deliberately thin edge can make the construction legible to a viewer. The useful distinction is between a variation you have planned for and one you discover only after it begins to crack or slump.
For an unfamiliar shape, build a small version first. Note where it bends, where moisture lingers and which joins are difficult to reach. Those observations can guide the next attempt: a wider curve, a more gradual change in thickness or a different order of assembly. Hand-building becomes more flexible when each stage leaves enough time to notice what the clay is doing.