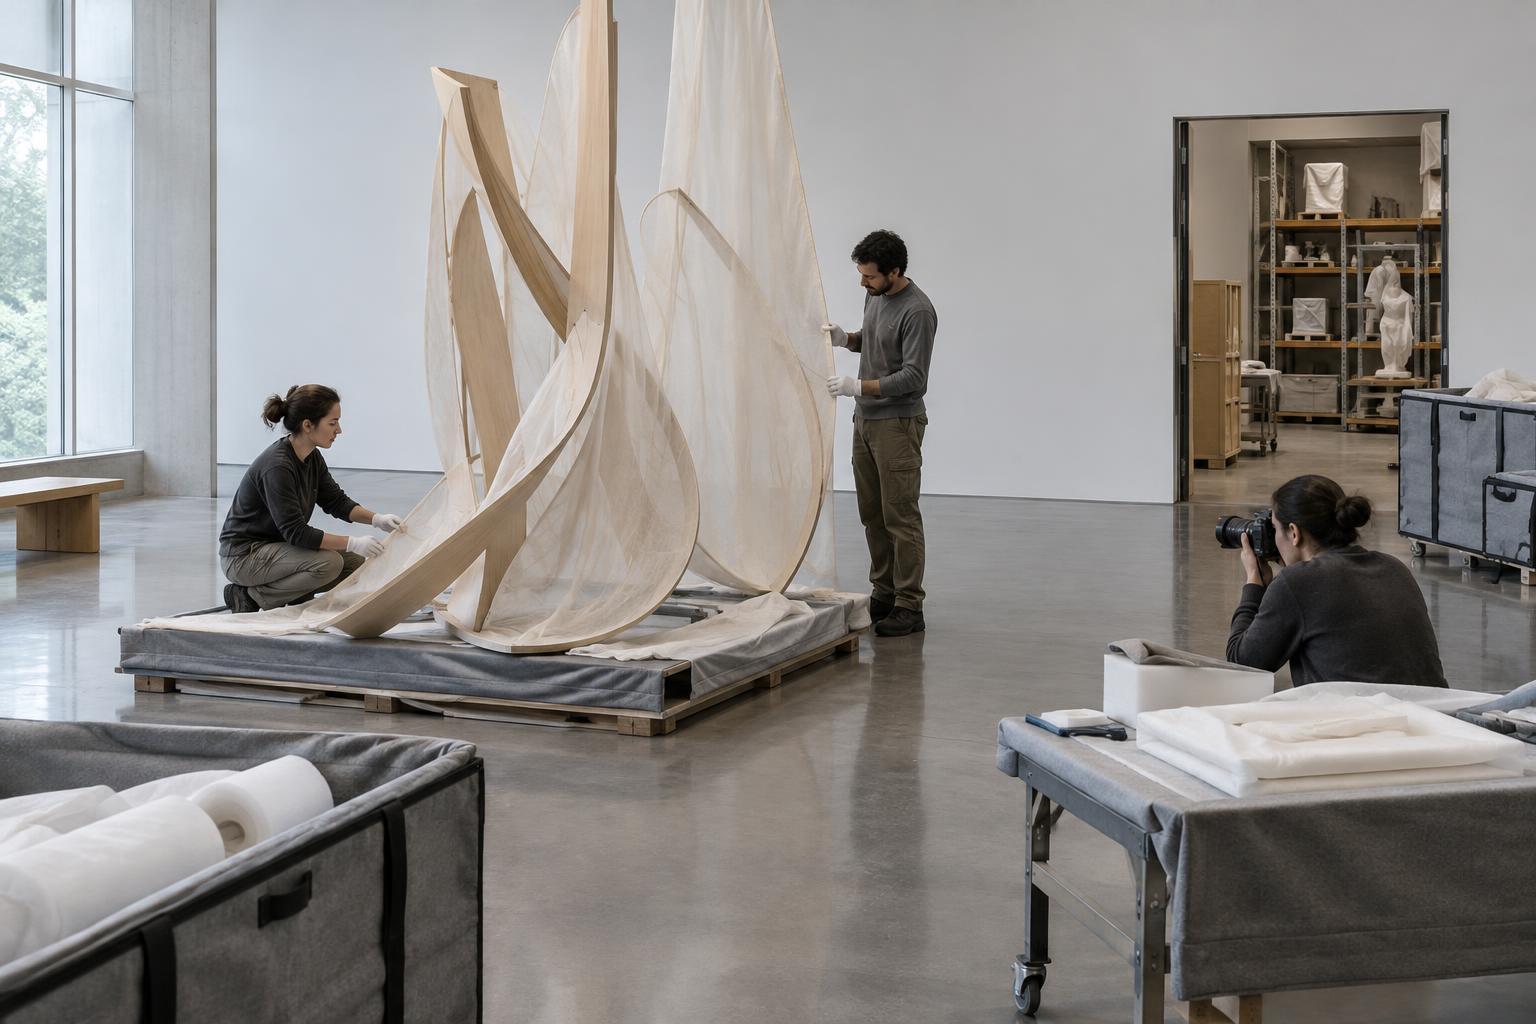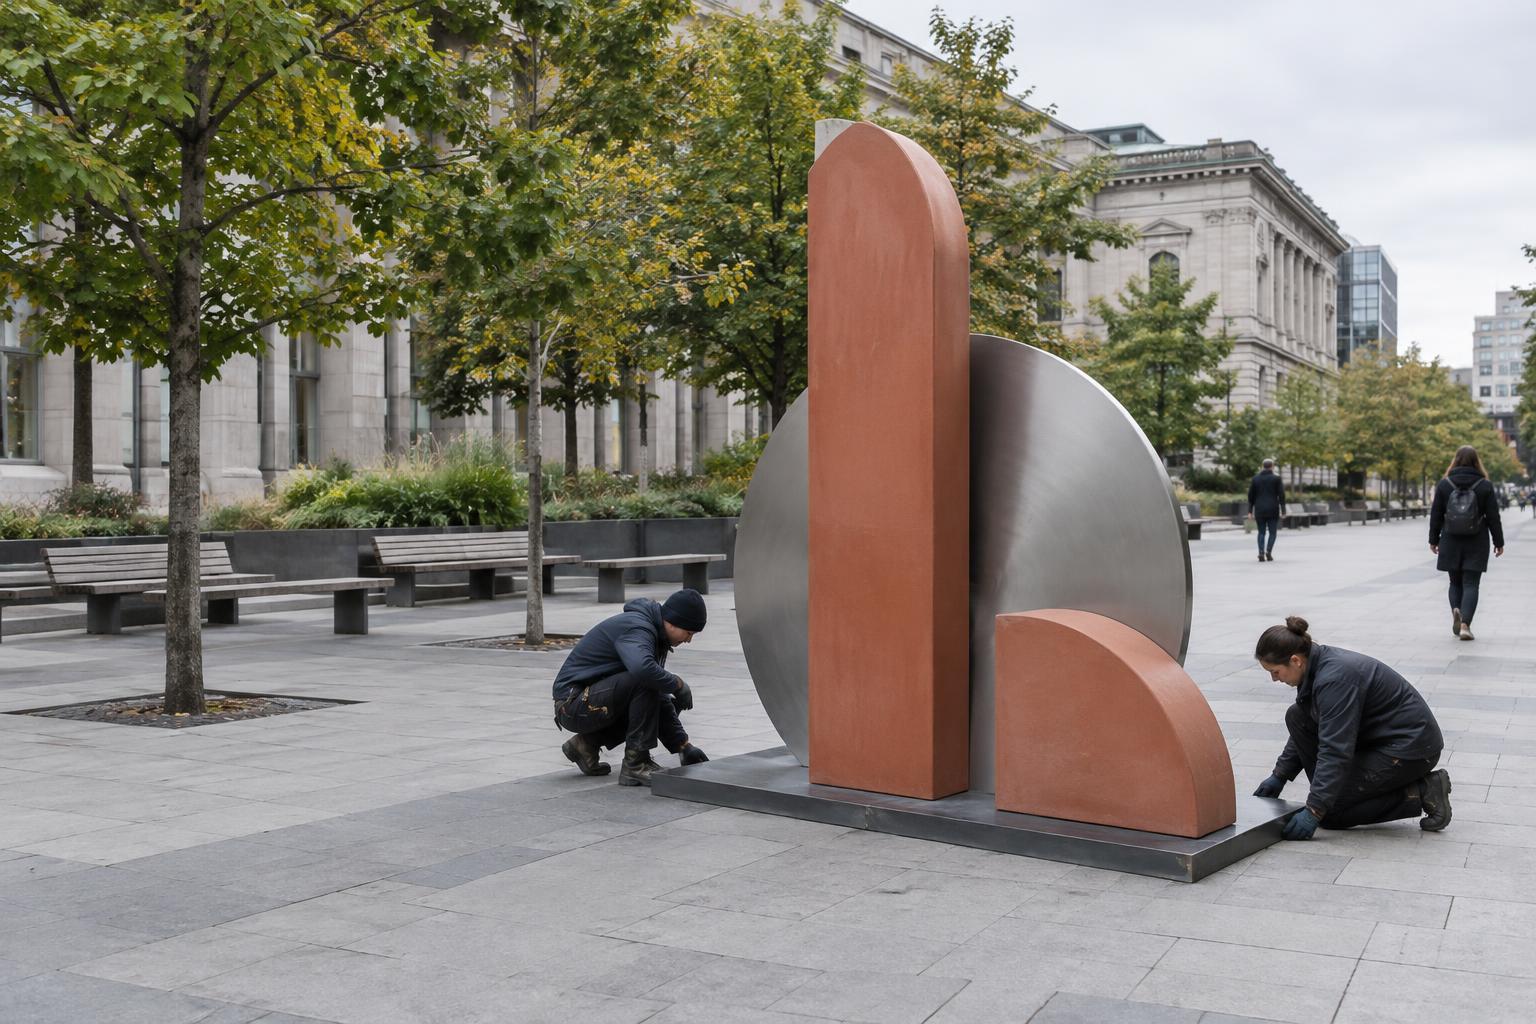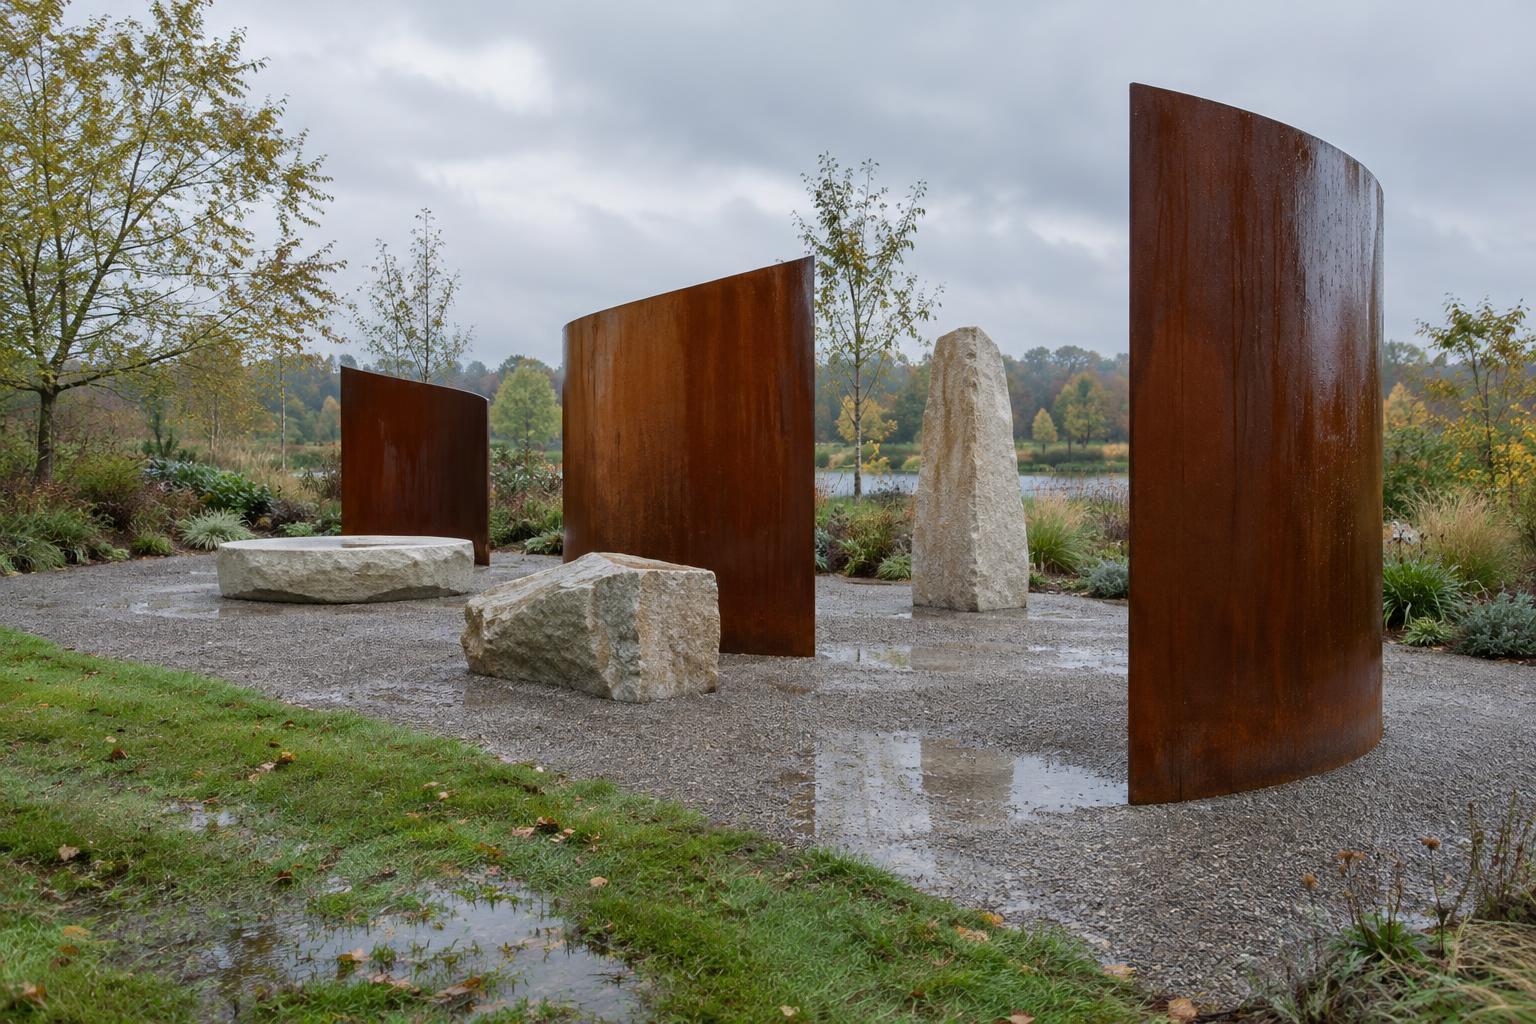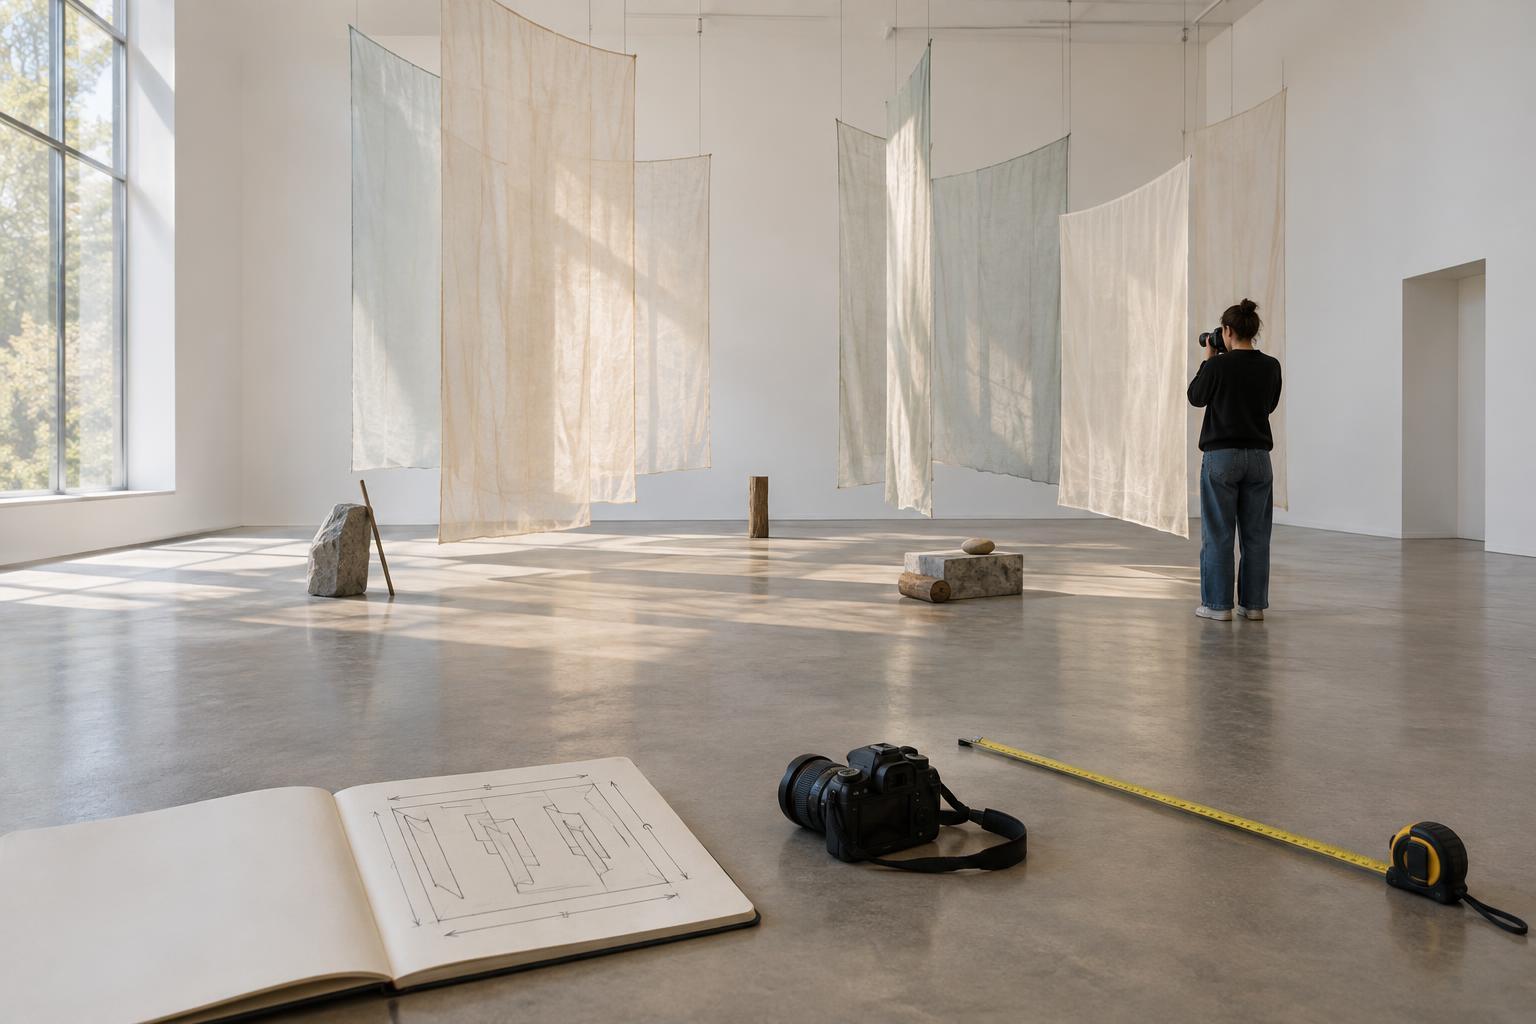
Decide what the record needs to explain
Documentation is more than proof that an installation existed. It should help someone who was not there understand the work’s scale, arrangement, materials and relationship to its surroundings. Before taking photographs or measurements, write a short description of what a visitor encounters: where they enter, what draws their attention first and whether they can walk around or through the work.
Think about what will be difficult to understand once the installation is removed. A photograph may show a suspended form without revealing its distance from the floor. A plan may show where objects stood without conveying how light affected them. Make a brief checklist of these gaps. It will guide your work on site and keep the resulting record from becoming a collection of attractive but disconnected images.
Photograph the work from broad views to close details
Begin with views that establish the whole space. Photograph the installation from the entrance and from other positions a visitor might naturally occupy. Include walls, floor, ceiling or nearby structures where they clarify the work’s placement. Then make images of individual components, connections and surfaces. For a piece that changes as people move through it, a sequence of views along that path may communicate more than one carefully framed image.
Keep a few photographs straightforward, even if you also make expressive images. Level views and frames with visible architectural references make scale and position easier to judge. Record features that affect appearance, such as daylight, projected light or shadows, and note the conditions under which each image was made. If people appear in the frame, check whether you have permission to photograph and share their images. When that is not possible, choose a viewpoint or time that avoids identifying them.
Draw a plan and record useful measurements
A simple plan can answer questions photographs cannot. Sketch the room or site from above, marking entrances, fixed features and the positions of the installation’s main elements. Give each element a label that matches your photo filenames or written notes. The drawing does not need to look polished; its value lies in making spatial relationships legible. State whether it is a measured plan or an approximate sketch.
Measure the overall footprint, the height of significant components and the distances that shape how the work is experienced. These might include the width of a passage, the space between hanging elements or the distance from a projection surface to its source. Choose a consistent unit and say where each measurement begins and ends. If an irregular form makes a precise dimension impractical, record an approximate range rather than implying accuracy you do not have.
When access allows, add a side view or small diagram for details that a floor plan cannot show, especially suspended, stacked or wall-mounted elements. Mark attachment points and indicate which parts belong to the installation and which belong to the building. That distinction matters when someone later tries to interpret how the work was supported.
Capture changes, materials and context
Temporary installations can change during their run. Fabric may settle, paper may curl, projected images may cycle and visitors may rearrange elements if interaction is part of the work. Decide whether your record represents one moment or several stages. If you document changes, label the sequence clearly rather than presenting images from different moments as a single fixed arrangement.
Write down material and process details that are not obvious in photographs: whether a surface is painted or projected onto, whether a form is rigid or flexible, and whether a sound or moving image is part of the experience. Note relevant site conditions, such as an open doorway, a nearby window or a public route through the space. Keep interpretation separate from observation. “The fabric moved when the door opened” describes an observable effect; what that movement means is a different question.
Assemble a record someone else can navigate
After the installation is removed, organize the documentation while its layout is still familiar. Select an overview, a small set of complementary viewpoints, detail images and the plan. Add captions that identify what each image shows and where it was taken. A short key can link numbered components on the plan to photographs and measurements. Keep the original image files alongside edited versions so later users can distinguish a presentation image from the fuller record.
Finish with a concise note on what the documentation cannot convey. Sound, movement, texture and the feeling of occupying a space may be only partly captured by photographs and diagrams. Acknowledging those limits makes the record more useful, not less: it lets future readers see both the evidence you preserved and the experience that remains beyond it.