Give each experiment a question
In a busy creative practice, it is easy to remember the excitement of a test and forget exactly what produced it. A photograph of a translucent surface, for example, may show an effect you want to repeat without telling you which backing, light source or distance from the wall made it work. Documentation turns a fleeting result into something you can examine and build on.
Before you begin, write down one question the experiment might help you explore. It need not predict an outcome. “What happens when this material hangs away from the wall?” is more useful than “Make a successful installation,” because it identifies something you can observe. If several questions arise, choose a primary one and keep the others as notes for future tests. Give the experiment a short name or number so its images and written record stay together.
Record the conditions, not just the result
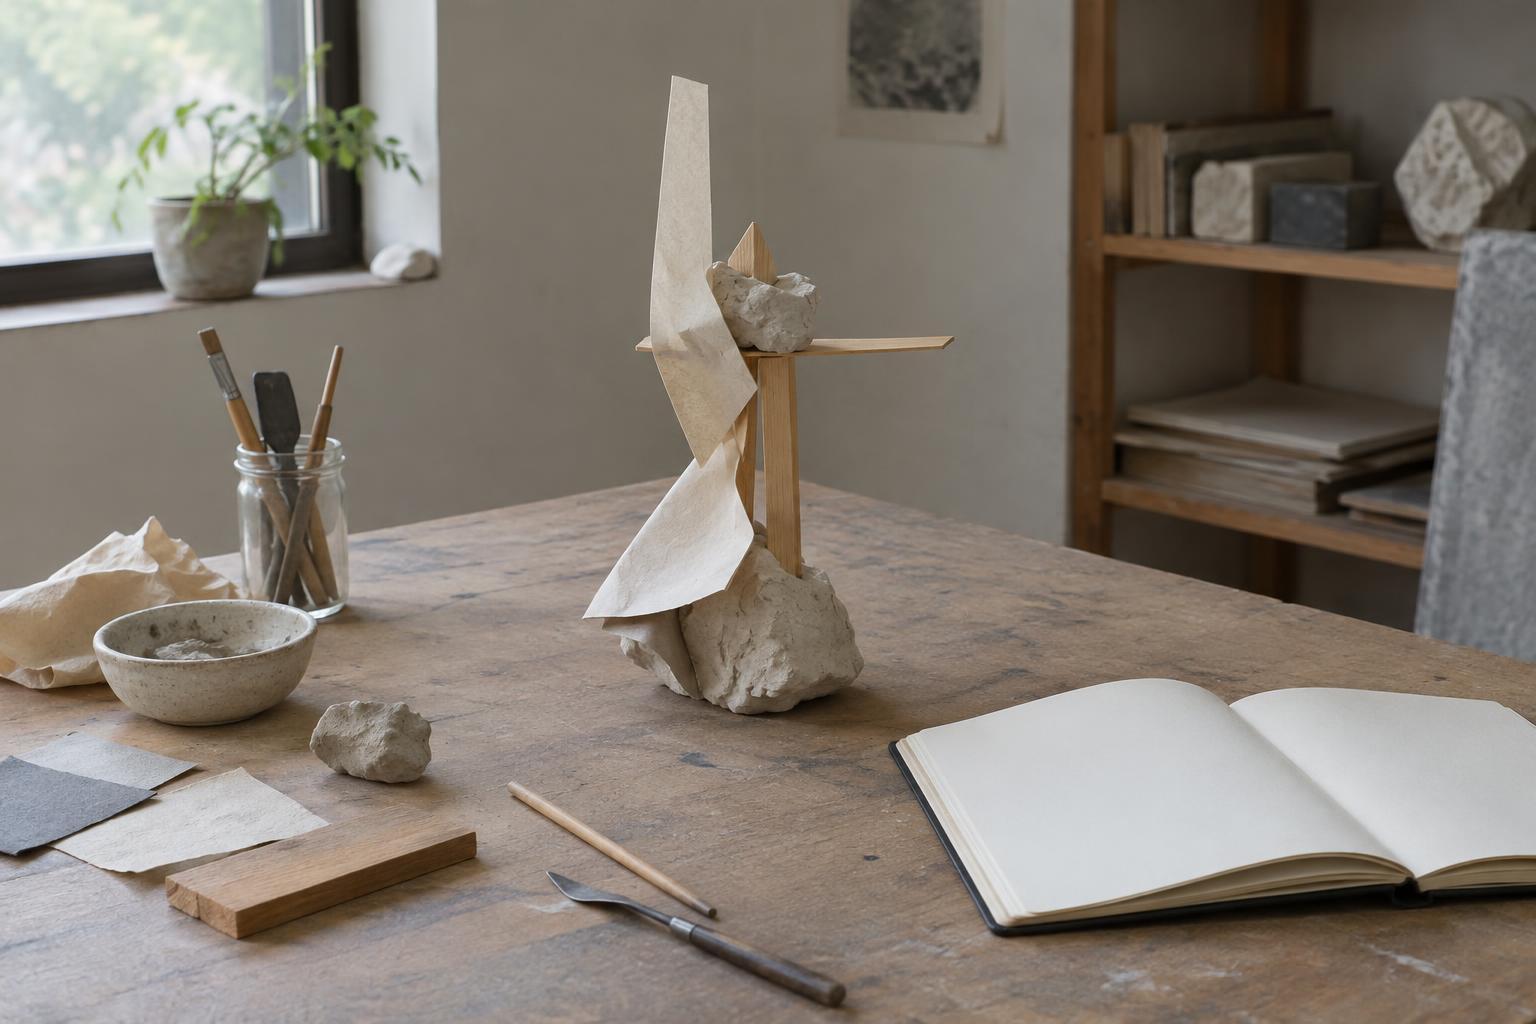
Start with details your future self cannot reliably reconstruct: the materials you used, approximate dimensions, order of steps, drying or waiting time, and any tools that changed the outcome. For work involving projection, sound or light, note where equipment was placed and what the surrounding space was like. You do not need a laboratory-style report. A few precise observations are more useful than a long entry that is difficult to maintain.
Distinguish between a deliberate choice and a condition you happened to work with. Perhaps a sheet curled because you chose a particular fastening method; perhaps it curled because the room was humid. You may not know which explanation is right yet. Recording both the observation and your uncertainty leaves room for a later test instead of turning a guess into a fact. If you change several things at once, note that too: the result may be promising, but its cause will be harder to isolate.
Make images that answer different questions
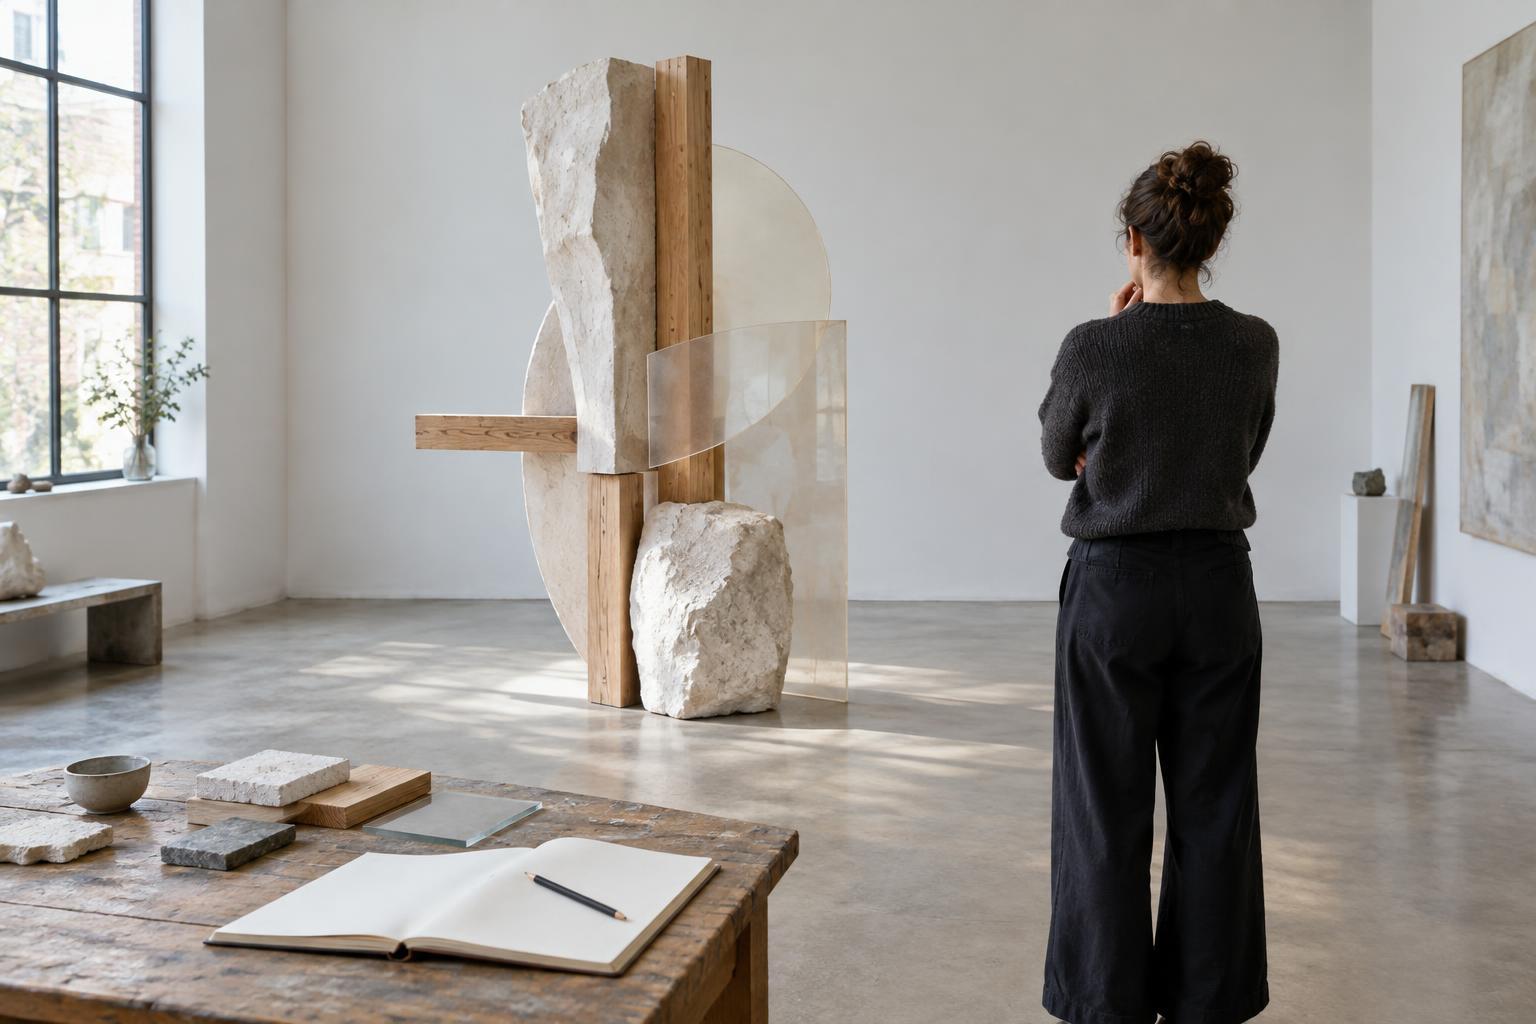
Photographs can record appearance, scale and sequence, but one attractive image rarely does all three. Take an overall view to show how the work occupies its setting, a closer view of joins or surface details, and, when useful, a view that includes a familiar object for scale. Photograph significant stages as well as the endpoint. A failed attachment or an unexpected shadow may become the detail you most want to revisit.
Add brief captions while the setup is still in front of you. Note what each image shows and anything the camera does not convey, such as movement, a shifting reflection or the sound of materials rubbing together. For time-based tests, a short video or audio recording may be more informative than a still image, provided you can identify which version it captures. Where other people or restricted spaces are involved, respect permissions and use a written description when recording is not appropriate.
Separate what you saw from what you think it means
When reviewing an experiment, try two short lists: observations and interpretations. An observation might be “the lower edge pulled away from the wall after the second layer was added.” An interpretation might be “the added weight may be changing the tension.” Keeping them separate helps you notice alternatives. Was weight the issue, or did the fastening loosen? This approach is particularly valuable when a test produces a result you like but cannot yet explain.
Include surprises and failures without treating them as verdicts on the work. “The surface cracked when folded” gives you a possible direction: test a wider fold, a thinner layer or a different point in the drying process. “It did not work” offers less to return to. You can also record a response that is difficult to measure, such as whether a spatial arrangement felt crowded or invited closer looking. Label it as an impression and describe what prompted it.
Make the archive easy to use
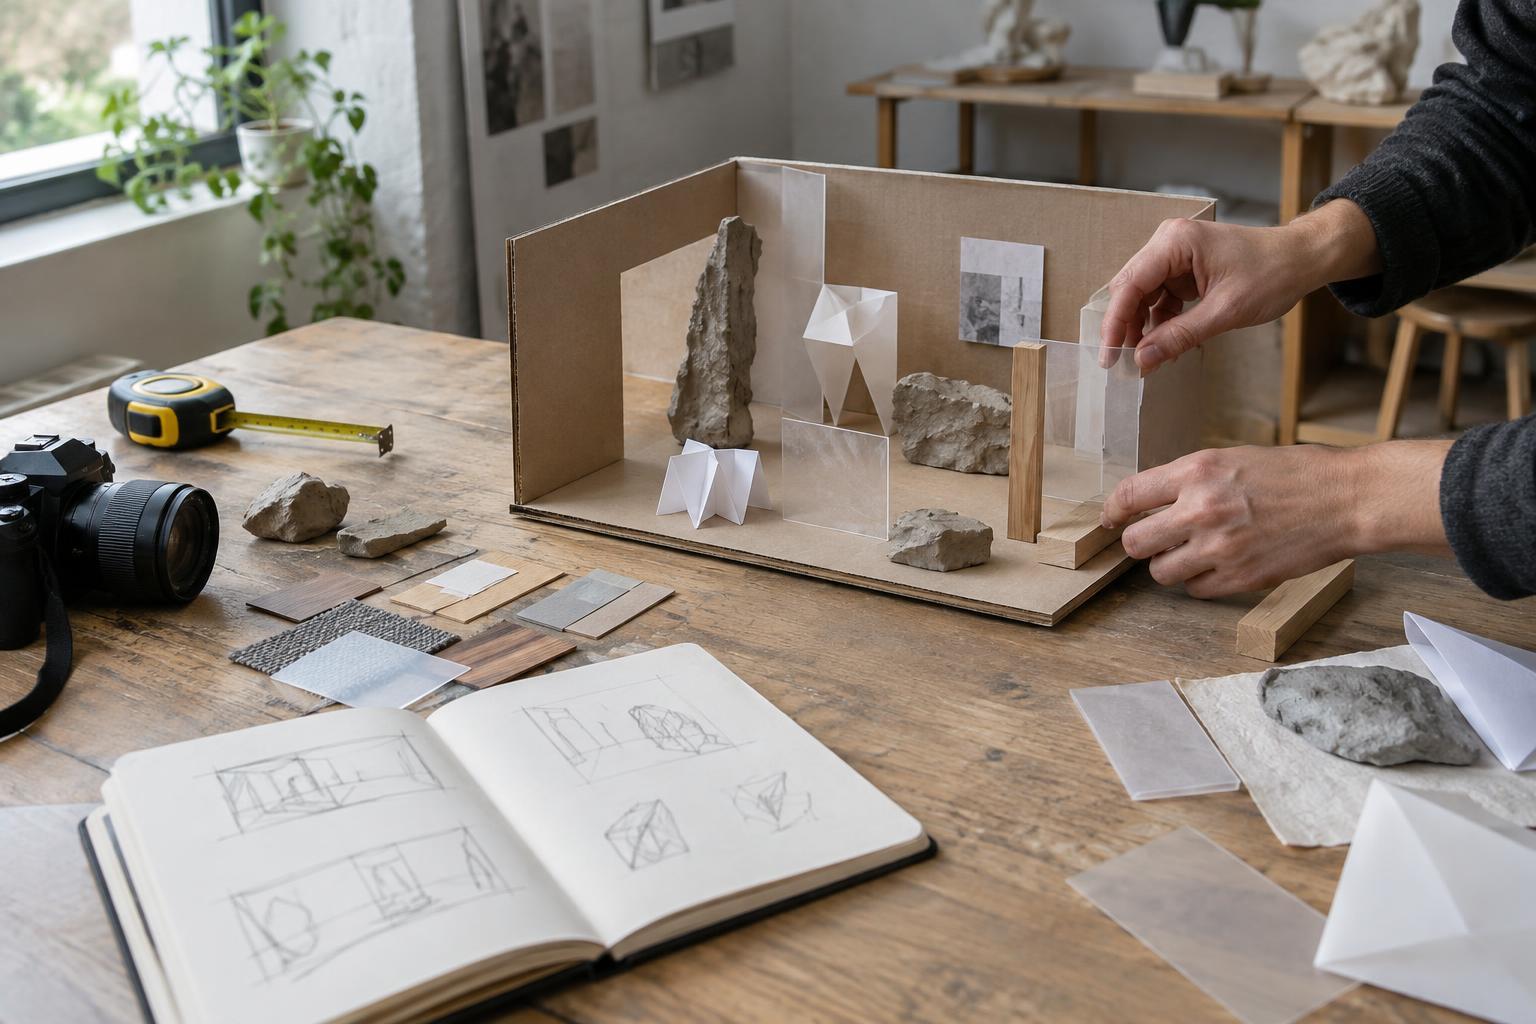
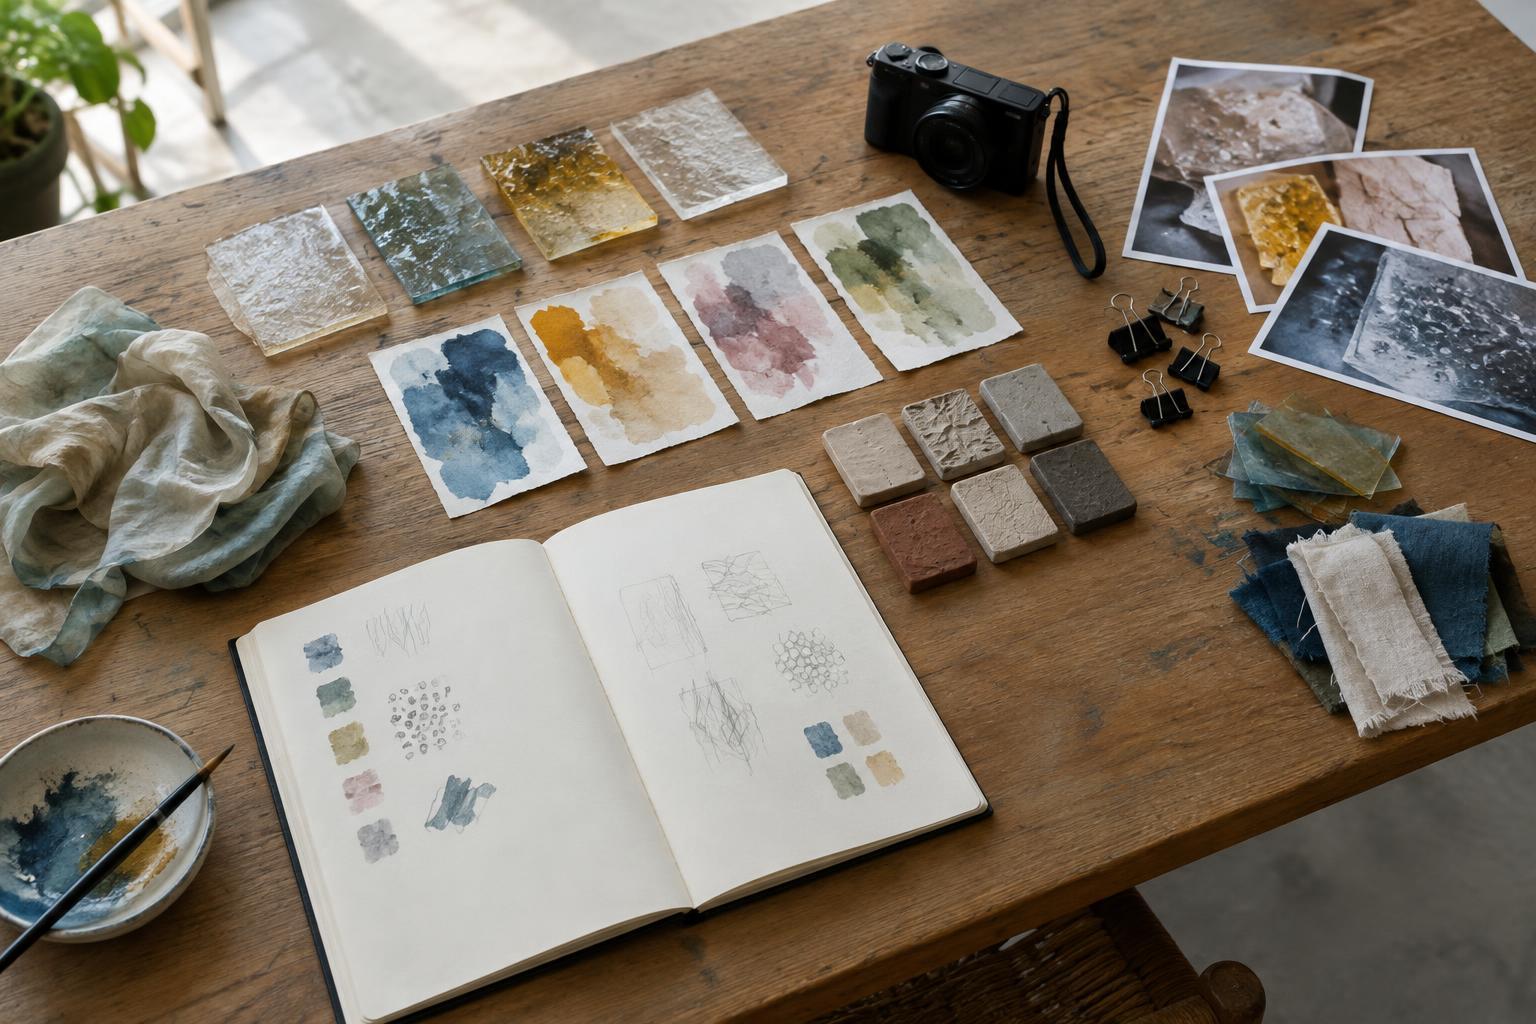
A documentation system is useful only if you can find and understand its entries later. Keep each experiment’s notes and images together under a consistent name. A paper notebook, a folder of files or a combination of the two can work; choose a format you will actually maintain. Use simple labels to connect related tests, such as material, process or question, rather than building an elaborate system before you know what you need.
End each entry with one or two possible next steps. These might be a controlled change, a new scale or a question worth testing in a different space. When you return to the archive, compare experiments rather than looking only for a single best result. Patterns often become clearer across several attempts: a material may behave consistently under one kind of light, or a construction method may limit the forms you can make. The purpose of documentation is not to prove that every experiment succeeded. It is to make your own process available for the next decision.