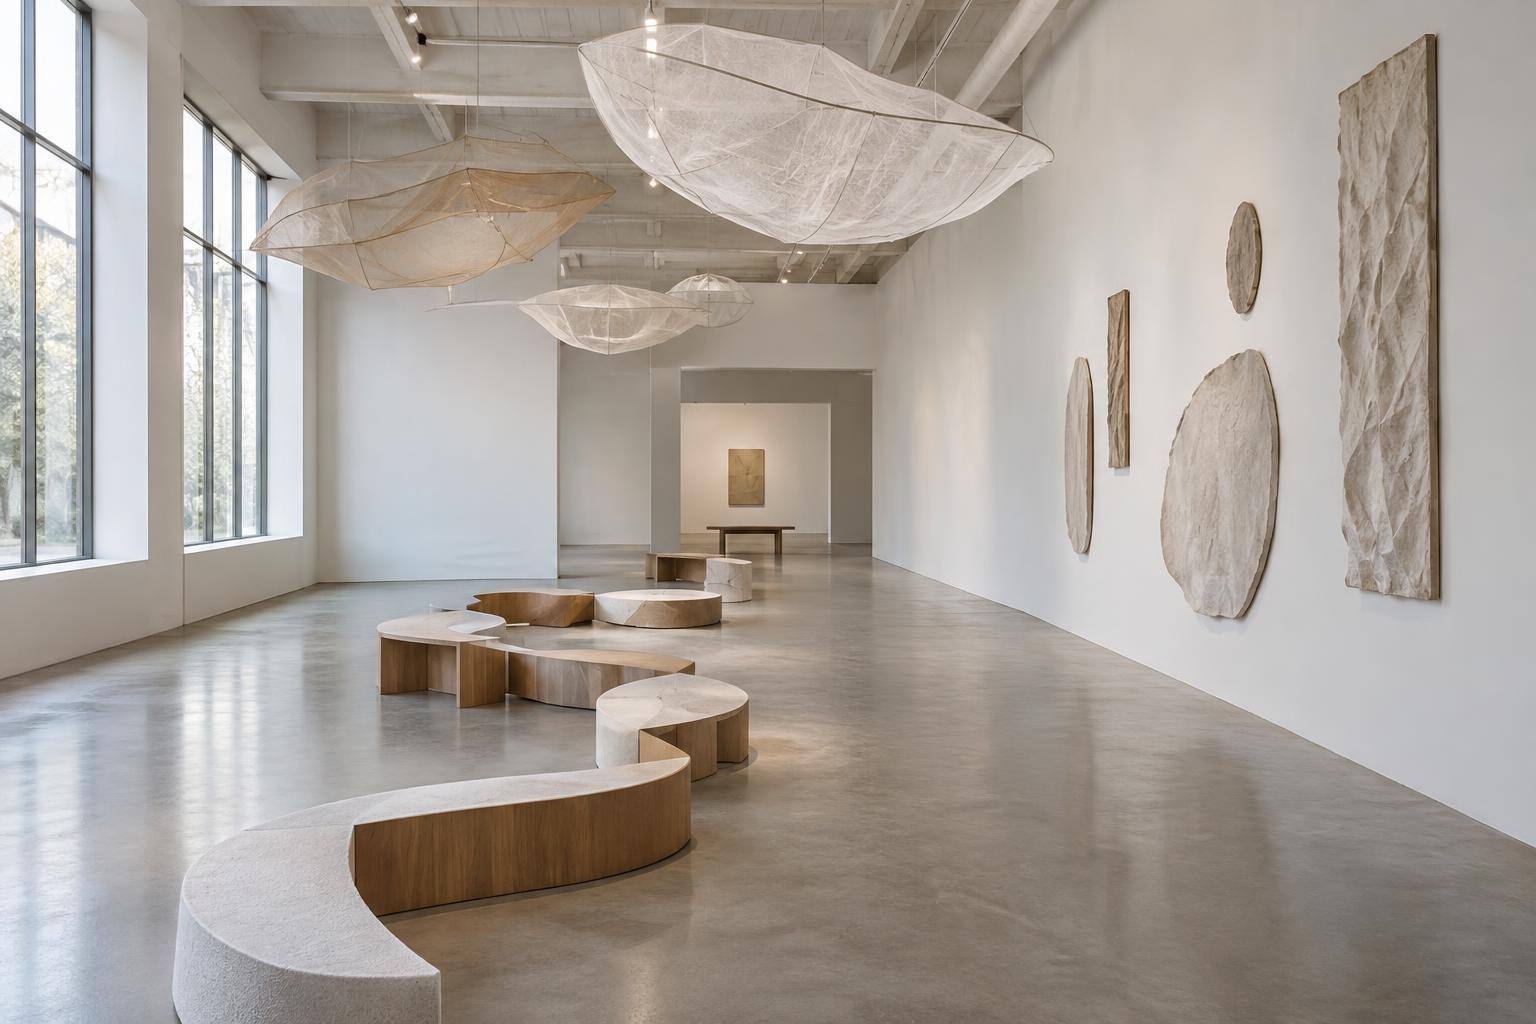
Start with the questions the model needs to answer
A scale model is not just a miniature version of a finished artwork. It is a place to make decisions while those decisions are still easy to change. Before cutting any cardboard, write down what you need to learn. You might want to know whether a suspended form feels crowded, where a visitor first encounters a projected image, or how several objects relate when seen from the doorway.
Choose a level of detail that serves those questions. A rough model made in an afternoon may be enough to compare layouts. If lighting, shadows or layered views are central to the installation, spend more time on the surfaces and openings that affect them. Leave decorative details for later unless they change how someone reads the space.
Measure the room and choose a workable scale
Record the room’s length, width and height, along with doors, windows, columns, alcoves and other fixed features. Note details that may affect the work, such as the direction a door opens or a wall that cannot be used for mounting. If you cannot visit the space, work from the best available floor plan and mark every measurement you still need to confirm.
Choose a scale you can calculate and build without difficulty. At 1:20, a feature measuring 20 centimeters in the room becomes 1 centimeter in the model. Use the same scale for the room and every proposed artwork component. A small conversion note beside your workspace helps prevent errors, especially when switching between a floor plan and a three-dimensional object.
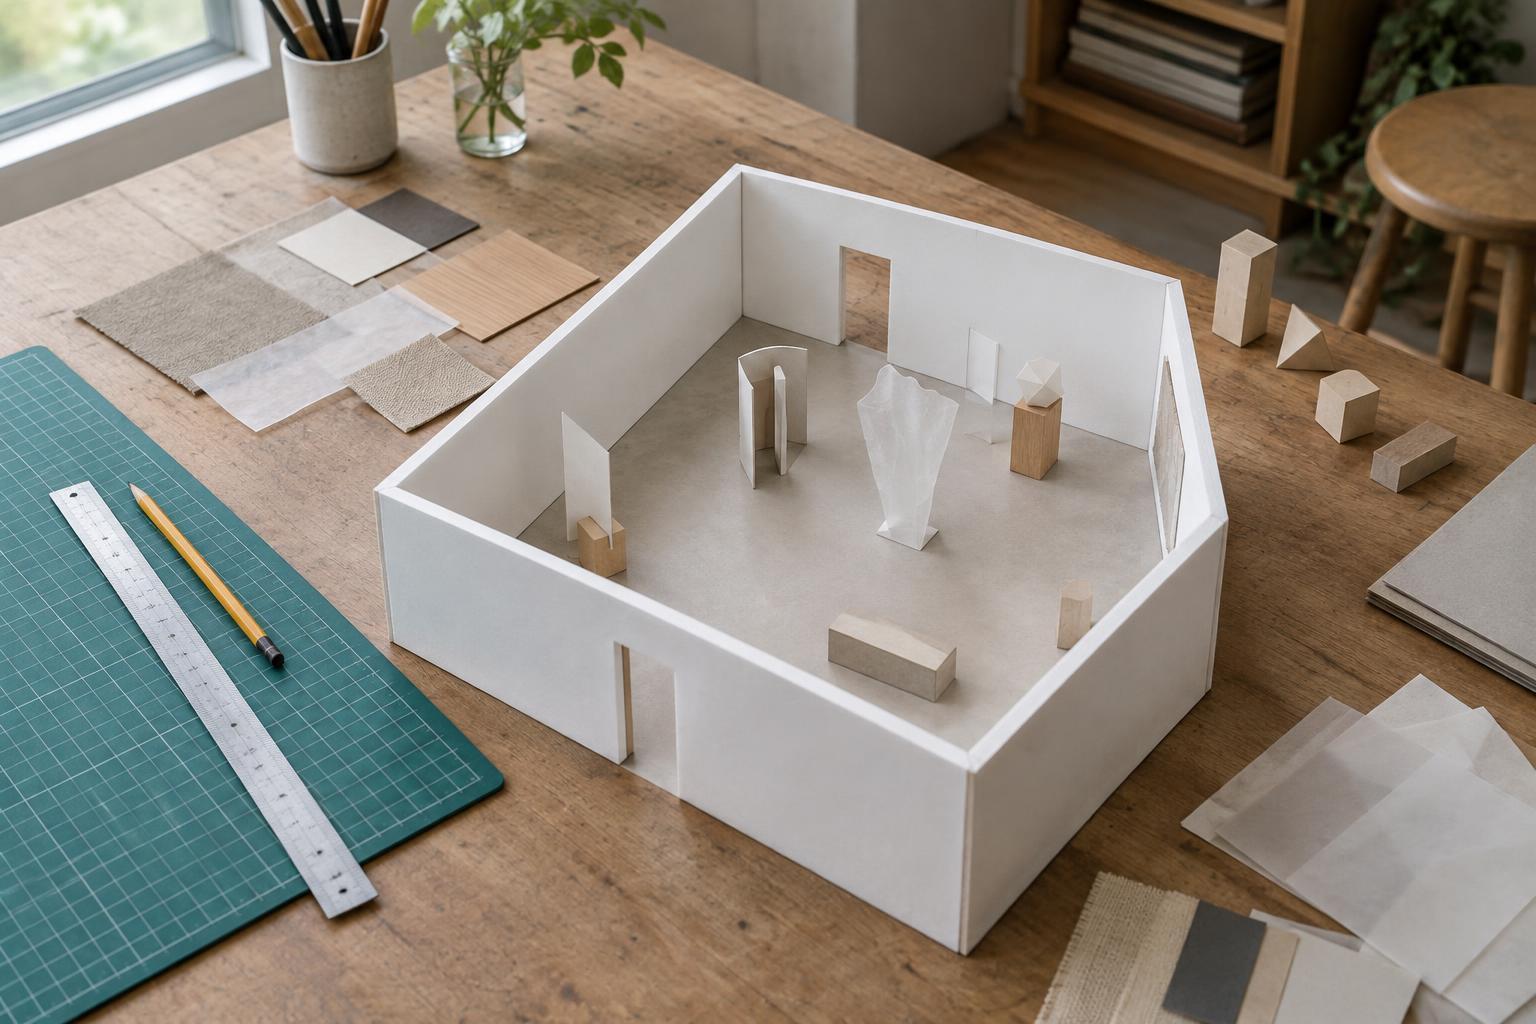
Make a simple room shell from card, foam board or another firm material. Draw the plan first, then cut the floor and walls. You can leave one wall unattached, or make a removable roof, so you can look inside. Label the walls on the underside or outside edge; once the model is turned around, it is surprisingly easy to mistake one orientation for another.
Build movable stand-ins for the artwork
Use inexpensive materials to represent the installation’s main elements. Folded paper can stand in for a partition, thread for a suspended line, transparent packaging for a translucent surface, and small blocks for plinths or freestanding forms. These pieces do not have to imitate the final materials exactly. They do need to show the dimensions, positions and visual relationships you want to test.
Keep components loose or attach them temporarily so you can move them. Try one arrangement, photograph it, then change a single element and photograph it again. Working in this sequence makes comparisons easier than rebuilding the whole scene from memory. If a piece has several possible heights, make a few versions or mark a support so you can adjust it.
Material behavior matters, but a model has limits. A scrap of reflective film may suggest glare; it will not reproduce exactly how a large reflective wall behaves. Treat the model as a way to generate questions for full-size tests, particularly when the installation depends on weight, sound, projection, airflow or the way fabric hangs.
Test the visitor’s experience, not only the floor plan
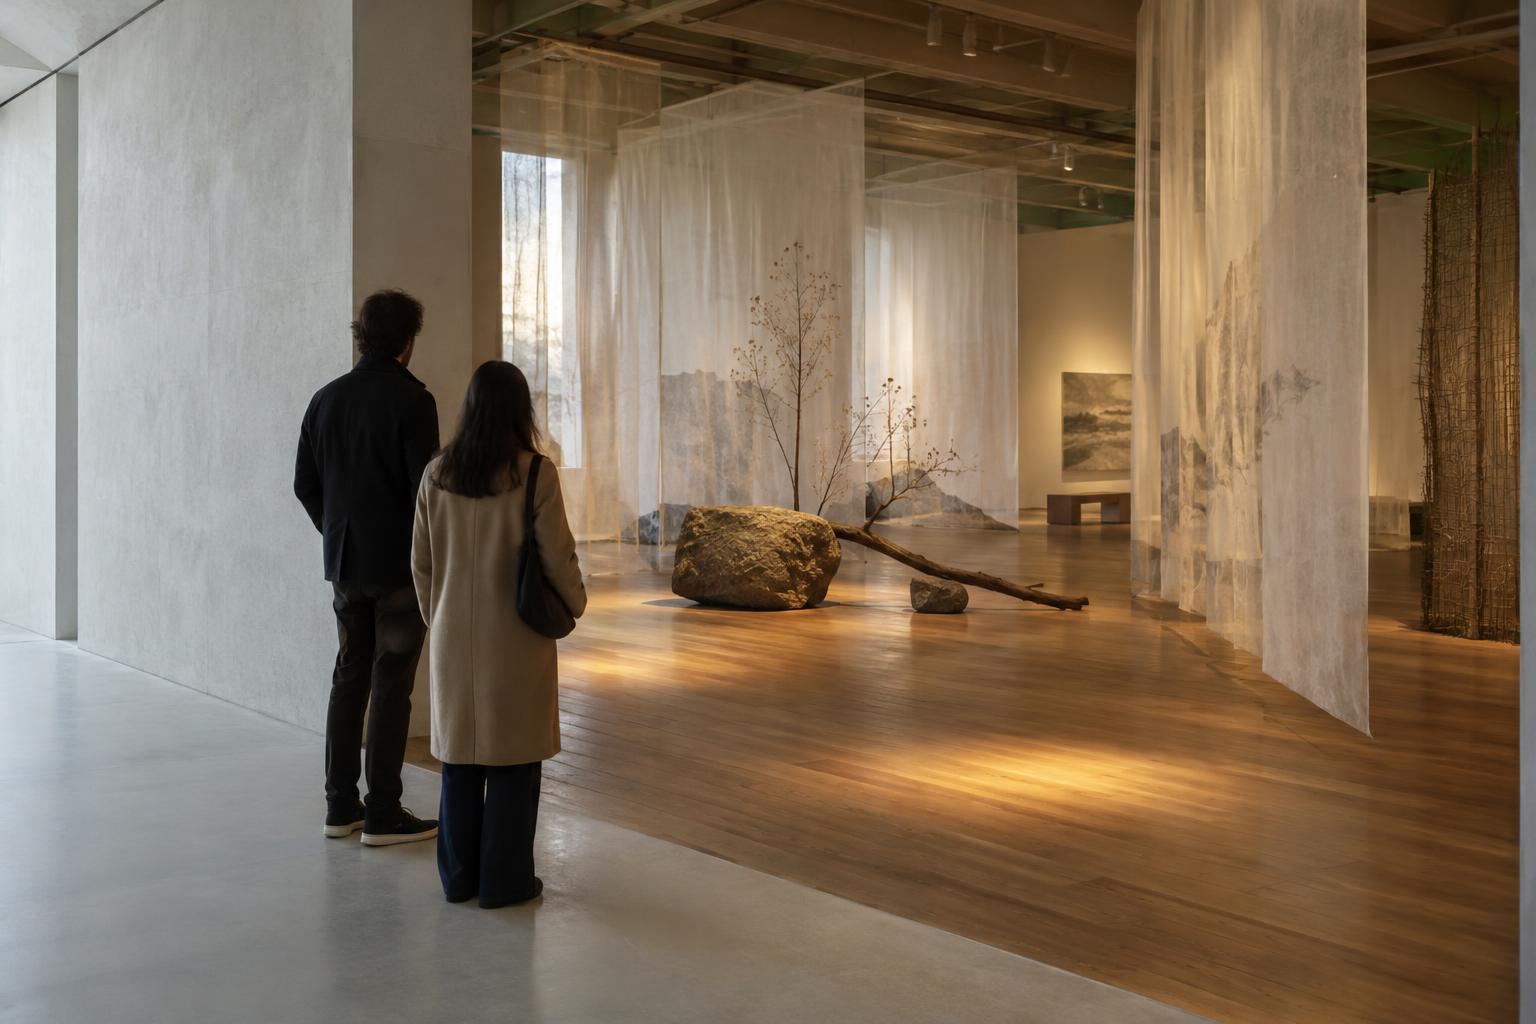
Look into the model from the entrance and from several likely stopping points. What becomes visible first? Does a partition reveal the work gradually, or simply hide it? Bring your eye close to the model’s approximate viewing height and take photographs through its openings. These low viewpoints often show relationships that disappear in a bird’s-eye view.
Trace possible routes with a pencil on a copy of the floor plan. Check whether there is room to approach, pause and move past each element without treating the entire floor as empty display space. Think about visitors who may take different paths or need more space to turn. The model can help identify tight spots, but dimensions and access requirements should be checked against the actual venue before installation.
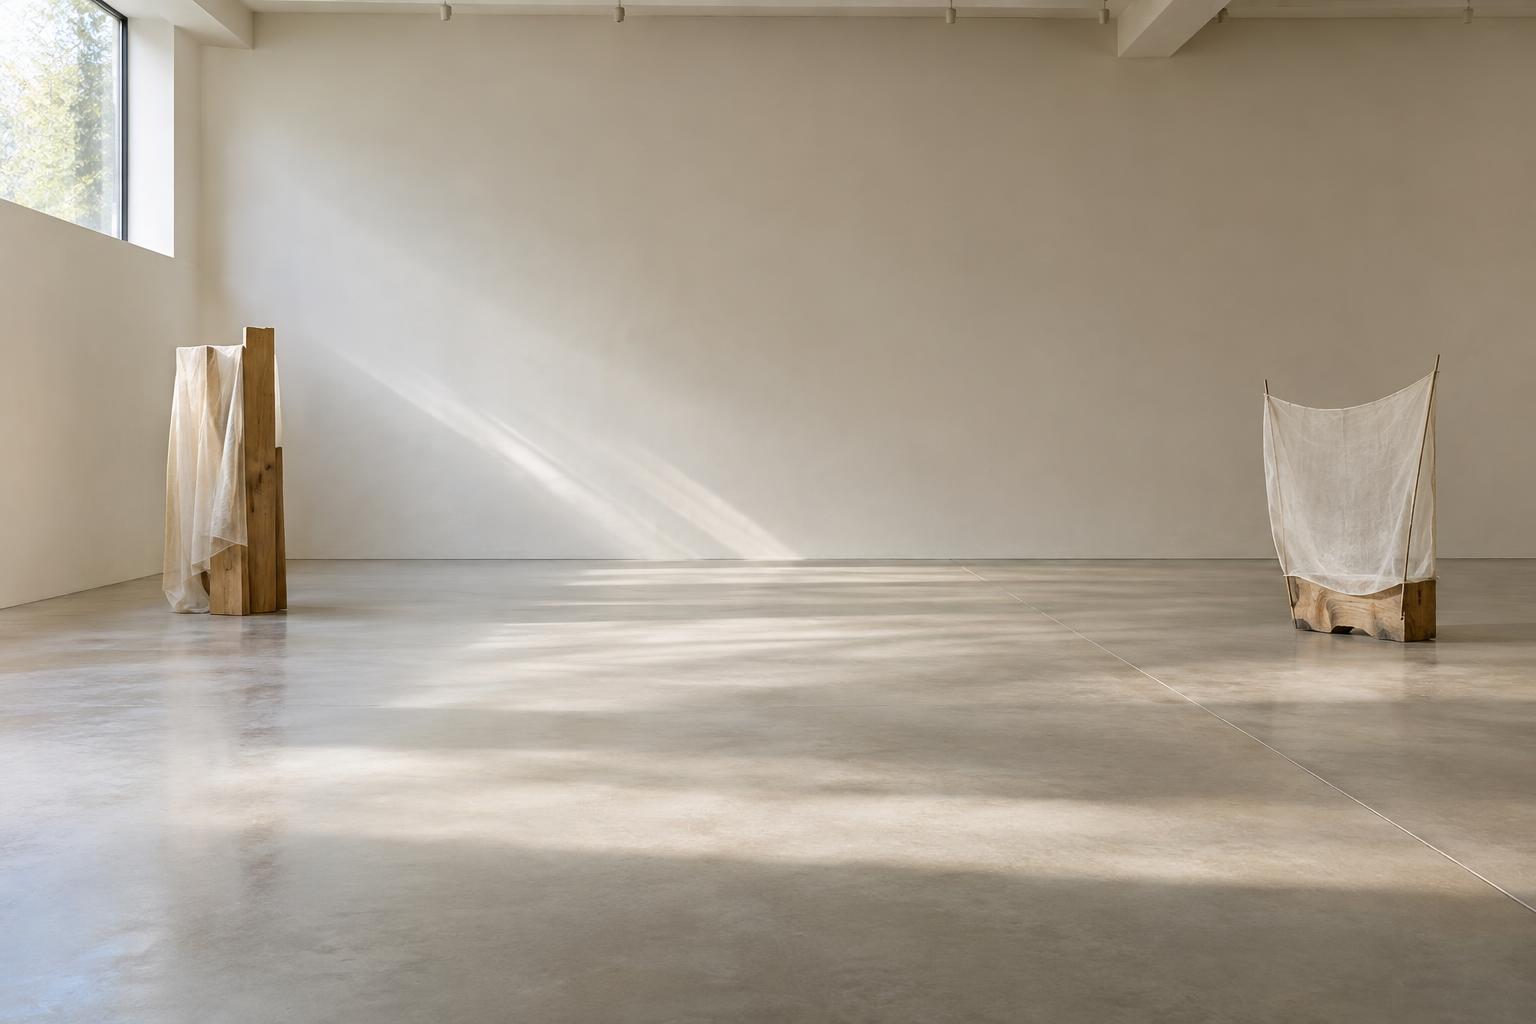
For light-based work, make a basic test with a small light source and note where shadows fall. For video or projection, mark the intended image area and the likely position of equipment. These studies will not predict the final result precisely, but they can expose conflicts, such as a shadow crossing an image or a sightline blocked by another object.
Turn the model into a planning tool
When an arrangement begins to work, document it from above and from several visitor viewpoints. Add a scale reference to at least one photograph and keep notes on which decisions are settled and which remain open. You can also mark proposed attachment points or equipment positions on a separate plan rather than crowding the model with labels.
Bring the model back into the process as the installation develops. Compare it with material samples and, where possible, full-size mock-ups of critical details. Update it when the room or the work changes. Its value is not that it promises a perfect preview; it gives you a clear, adjustable way to think through how objects, space and visitors meet.