Understand why a collage buckles
Paper buckles when parts of it expand or contract at different rates. A wet adhesive can swell a thin clipping while the support beneath it stays relatively dry. As the glue dries, the papers pull against one another, leaving waves or raised edges. Heavy layers, uneven adhesive and damp air can add to the problem.
The aim is not necessarily to make every surface perfectly flat. A slight ripple may suit a tactile composition. But if you want crisp overlaps or plan to frame the work close to a mat, it helps to make choices that limit moisture and distribute tension evenly. Start by testing those choices on scraps from the actual papers you intend to use.
Choose a support that can carry the layers
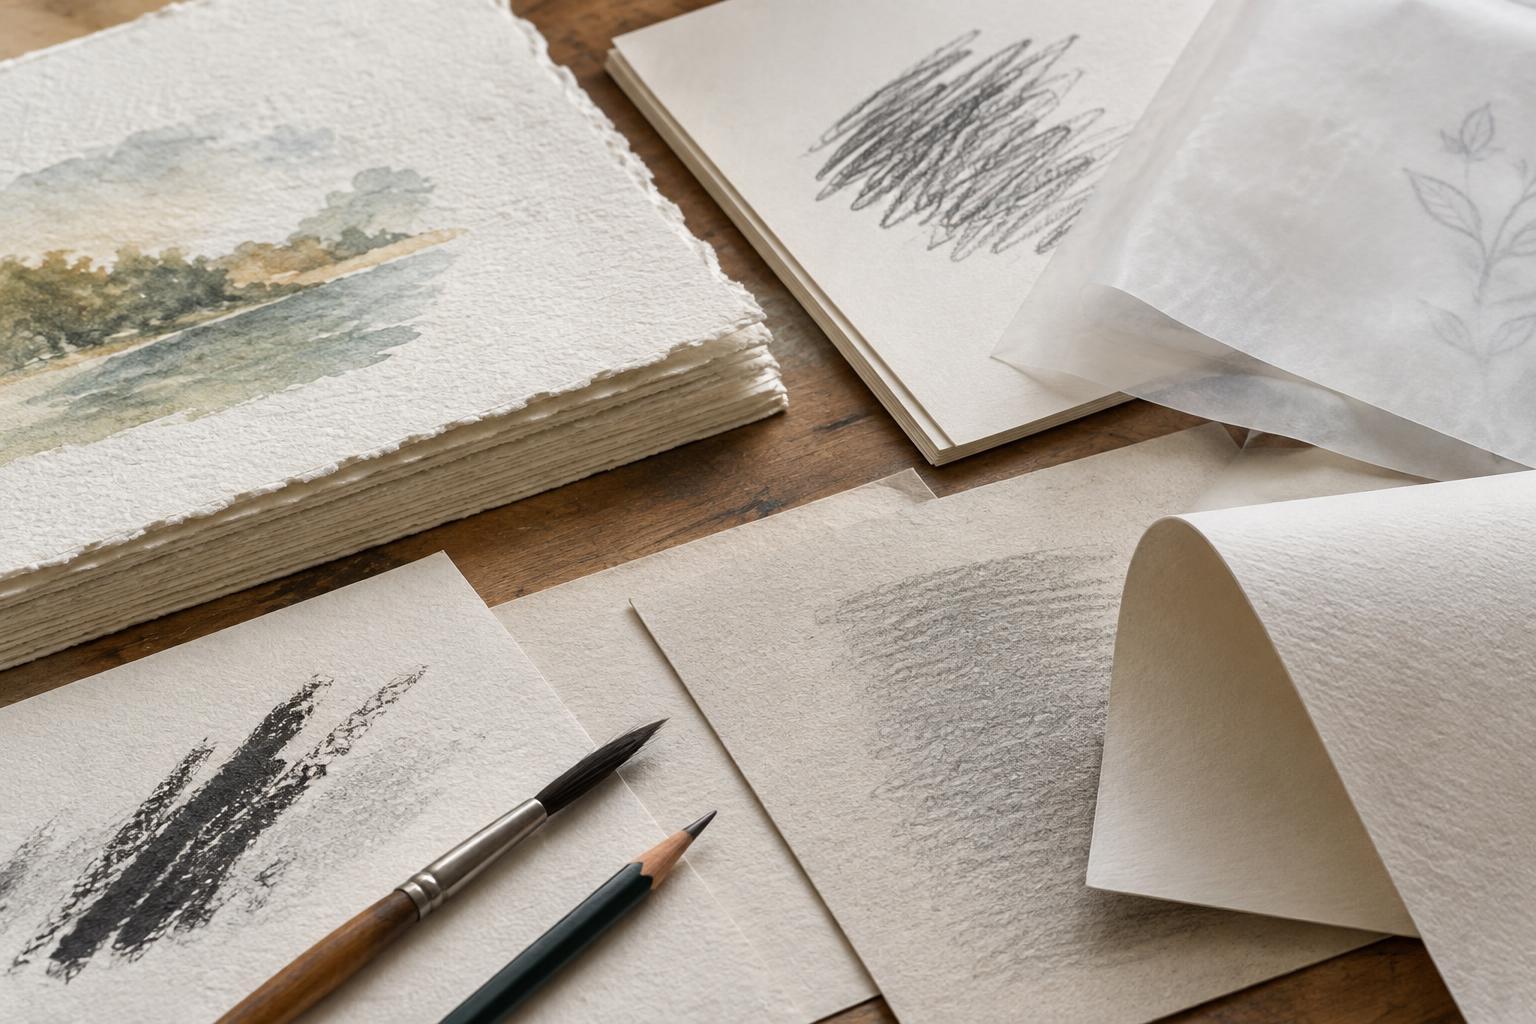
A thin sheet of printer paper may bend under the weight of several collage layers, even if the adhesive is applied carefully. Heavier drawing paper, watercolor paper or illustration board offers more resistance. The best choice depends on the size of the piece and the papers being attached: a small collage of light tissue has different needs from a large work built with card and painted fragments.
Keep the support clean and dry before assembling the collage. If you are working on a flexible sheet, secure it to a drawing board with removable tape around the margins, leaving the image area free. This can help restrain movement while you work, though it will not overcome a very wet application. Test the tape first so it does not tear or mark the surface when removed.
Paper has a grain direction, along which it often bends more readily. When using large sheets or long strips, try aligning their grain directions where practical. A small sample can reveal how your materials behave: lightly bend a spare piece in each direction and note which bend feels easier. Mixed grains are not automatically a problem, but knowing about them helps when a particular combination repeatedly curls.
Use only as much adhesive as the bond needs
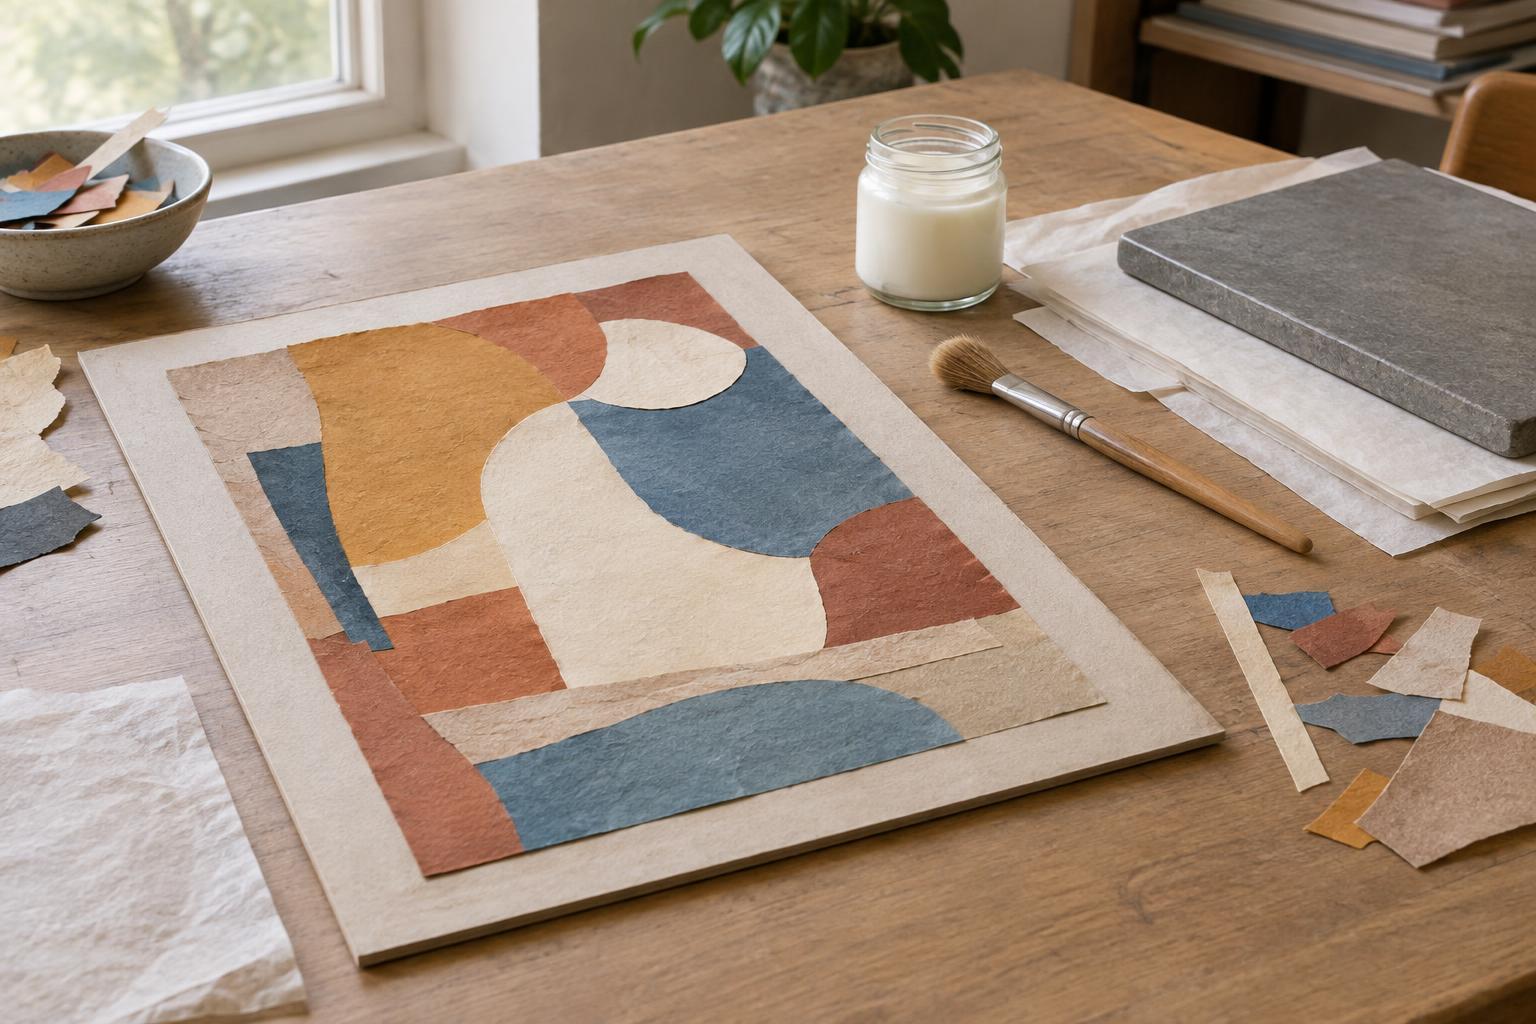
Extra glue does not always make a stronger collage. A thick, uneven coat introduces more moisture and can leave ridges that show through lightweight paper. For a liquid adhesive, spread a thin, consistent layer with a brush or spreader, paying attention to the edges. Work on a protective scrap surface so you can coat the piece without getting glue on its front.
Dryer options, such as a glue stick or archival-quality double-sided adhesive, may reduce moisture-related buckling. Their suitability varies with the paper, the scale of the piece and how long you hope it will last. Some adhesives can stain, release at the edges or become difficult to reposition. Make a sample, let it dry fully and check its appearance and hold before committing to the finished work.
For delicate tissue or newsprint, consider applying adhesive to the support rather than brushing repeatedly over the fragment. Place the piece gently and smooth it from the center outward with clean hands or a soft tool, using a release sheet to protect the surface. Stop if the paper begins to stretch or pill; continued rubbing can create more distortion than the glue itself.
Build and dry the collage in stages
Plan the main overlaps before gluing so you do not have to lift damp paper repeatedly. Attach larger elements first and give them time to settle before adding small details. If one area is heavily layered while another remains bare, the support may pull unevenly. Working across the surface in stages can make it easier to notice a developing wave and adjust your method.
When a section is secure but not soaking wet, cover it with a clean, nonstick release sheet and place it under a flat board with even, moderate weight. A sheet of absorbent paper outside the release sheet can help with residual moisture; replace it if it becomes damp. Check that no adhesive has escaped before pressing, or you may bond the work to its covering. Let the collage dry thoroughly before judging its final shape.
Handle remaining ripples with care
If a finished piece still waves, first allow more drying time in a stable indoor space. Then try pressing it between clean protective sheets and flat boards. Do not apply concentrated weight to raised collage elements that could be crushed. Spraying water onto the back may seem like a quick fix, but it can introduce new distortion, stains or adhesive failure.
Keep notes on which combinations stay flat in your sample tests. The most useful adjustment might be a sturdier support, a thinner adhesive layer or more drying time rather than a different creative approach. With those variables under control, you can decide when a smooth plane matters and when the natural relief of layered paper is part of the work.