Begin with the room, not the projector
A projection installation is an arrangement of light, architecture and bodies in space. Before choosing a projector position, walk through the room as a visitor might. Note where people enter, what they see first, where they are likely to pause and which routes must remain clear. A doorway can frame an image; a narrow passage can make viewers encounter it at an angle. These conditions are not obstacles to solve automatically. They may become part of the work.
Make a simple plan showing walls, corners, windows, outlets and possible mounting points. Mark surfaces that receive daylight or spill from other fixtures, and revisit them under the lighting conditions expected during the exhibition. Decide which parts of the image must remain legible and which can dissolve into shadow or architectural detail. That distinction will help you spend effort where it matters.
Treat the surface as an active material
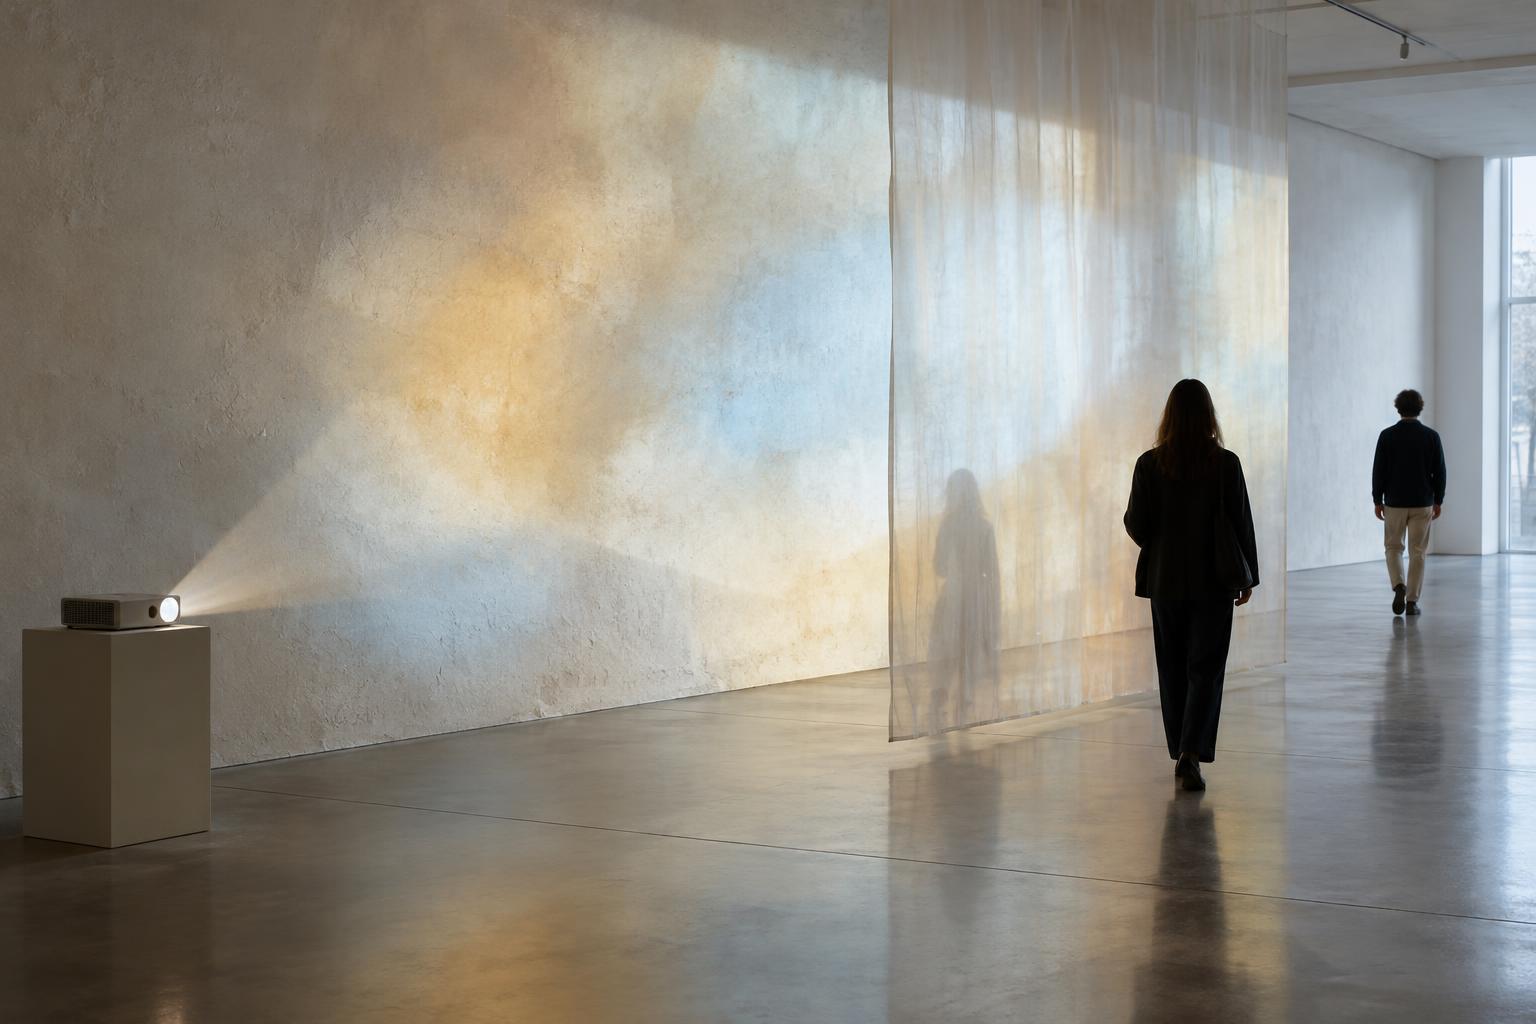
A smooth, light-colored wall tends to preserve detail, but it is only one option. Brick can break an image into fragments; fabric may soften its edges; a curved surface can stretch forms as viewers move past it. Dark, glossy or uneven materials may absorb light, reflect it unpredictably or interrupt fine lines. Rather than assuming a surface is suitable from a photograph, project a short sample onto it from the intended position.
Test several kinds of content: a bright field, a dark scene, small details and moving forms. Stand near the image, then step back and view it from the entrance and other likely stopping points. A texture that overwhelms a close-up may give a large abstract sequence its character. If the surface is part of a shared or temporary venue, confirm what may be attached to it and use a freestanding alternative when direct modification is unsuitable.
Work out distance and image size together
The distance between projector and surface affects image size, focus and placement. Projectors differ in how wide an image they make at a given distance, so check the specifications of the equipment you have rather than relying on a generic measurement. A floor plan can narrow the options, but a physical test is the clearest way to see whether the image fits without falling onto a ceiling, adjacent wall or unintended object.
Try to position the projector so it faces the surface as directly as the work allows. Digital correction can straighten a skewed image, but it may reduce usable image area or make fine detail less crisp. If an angled beam is central to the installation, design for that distortion instead of treating it as a flaw to hide. Include room for the projector itself: ventilation, a stable mount, secure cabling and access for adjustments are all part of the spatial plan.
Compose for moving viewers
Visitors rarely hold one ideal viewing position. They cross the beam, cast shadows and notice different parts of the image as they approach. Test the installation with someone walking the expected route while the projection runs. Their shadow might create a compelling moment of participation, or it might block information that the work needs to convey. Either result is useful to know before the layout is fixed.
Consider whether people can enter, pause and leave without feeling pushed toward the equipment or into one another’s path. If the work invites interaction, make that invitation understandable through its placement and behavior rather than depending on lengthy instructions. Leave a usable route around cables and stands, and avoid placing a bright beam where visitors must look directly into it to navigate. A clear circulation plan lets movement contribute to the work without making the space difficult to use.
Prototype the whole encounter
A successful test includes more than a sharp image. Run the actual sequence for long enough to observe changes between bright and dark passages. Listen for projector noise if quiet is important to the work. Check whether nearby artworks, signs or emergency lighting alter the visual field, and whether the projection affects them in turn. Document useful settings and positions so the installation can be restored after equipment is moved.
Small prototypes can answer large questions. Tape out an image area, try a temporary surface or project a short excerpt at the intended scale. Then ask what the visitor encounters over time: the image, the surface beneath it, the route through the room and the presence of other people. When those elements support one another, projection becomes more than an image enlarged onto a wall. It becomes an experience made by the space.