Start with the form, not the plaster
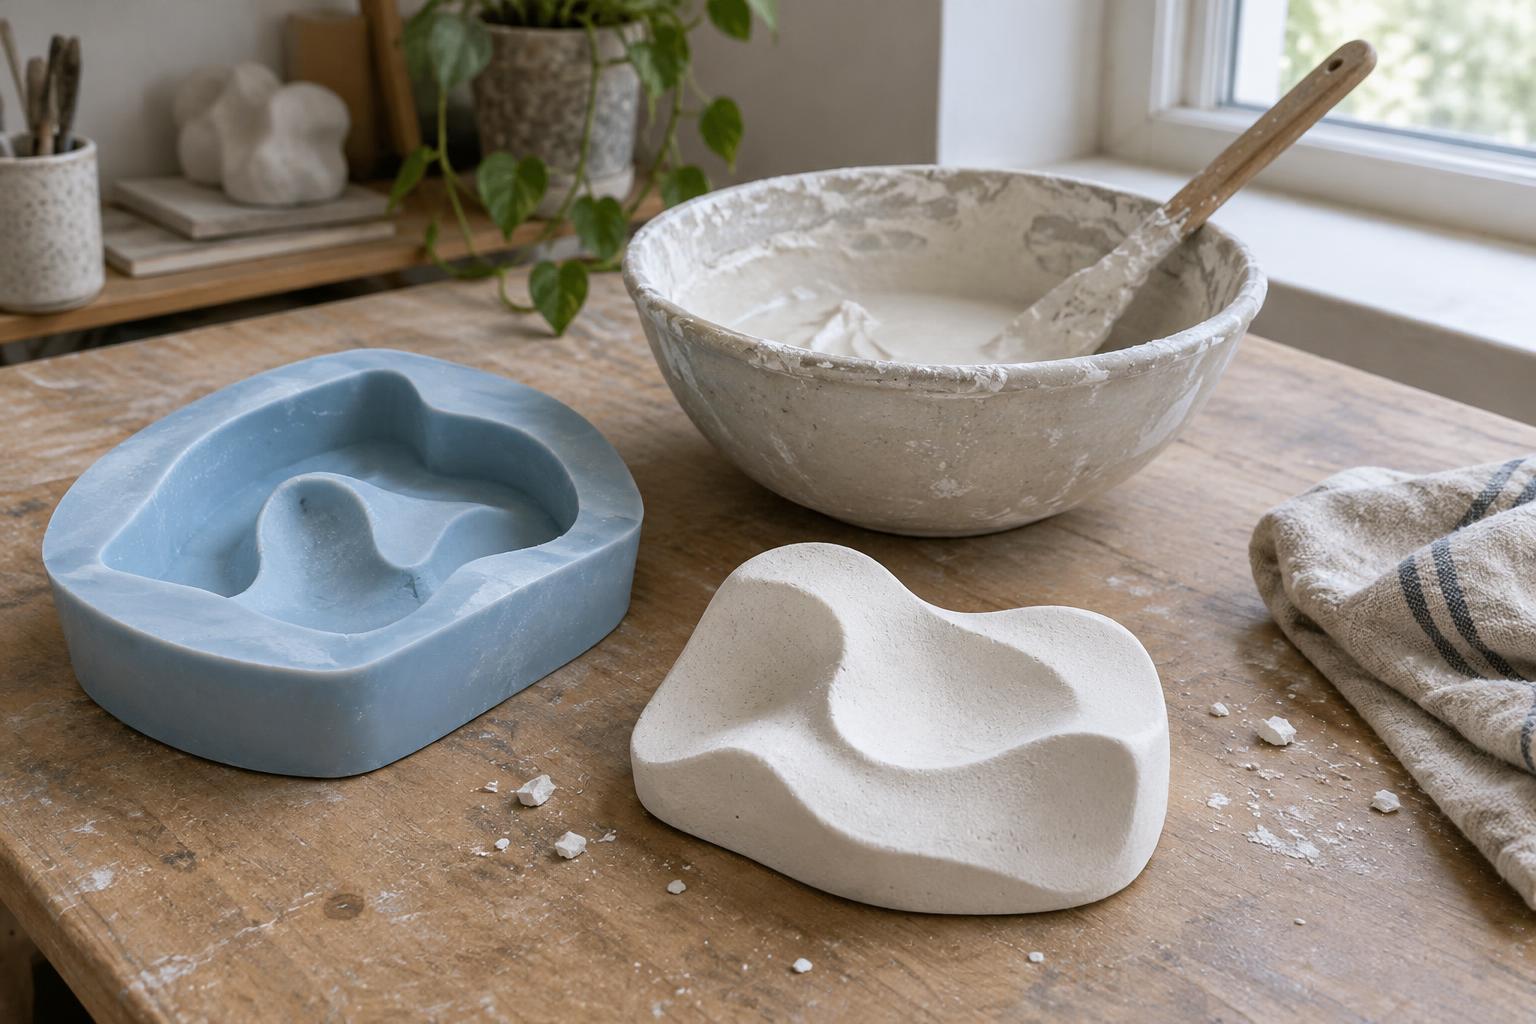
Plaster casting begins with a simple question: what shape must the mold hold, and how will the finished object come out? A mold is a negative space that receives the liquid mixture. Once the plaster sets, it becomes a positive form. Casting can reproduce an existing object or turn a shape built from clay, found materials or a handmade pattern into a repeatable object.
Before choosing materials, inspect the shape for undercuts: areas that hook behind a projecting edge. A rigid mold may trap a cast with deep undercuts, while a flexible mold can bend away from it. A simple form with sloping sides is a good first project. For a more complex form, consider a mold made in separate pieces, with seams positioned where they will be easy to clean up later.
Choose a mold that suits the surface
Flexible silicone molds are useful for detailed forms because they can often peel away from a set cast. Rigid molds can work well for straightforward shapes, but they demand more attention to undercuts and release. Even a shallow tray can serve as an exploratory mold when the goal is to study edges, impressions or layers rather than make a precise copy.
Think about the surface you want as well as the shape. A smooth mold tends to produce a smooth cast; a textured mold transfers much of its texture into the plaster. Porous originals may need sealing before mold-making so they do not absorb moisture or hold on to mold material. When testing an unfamiliar combination, make a small sample first. It is easier to adjust a sample than to rescue a large cast stuck inside its mold.
Mix a manageable batch
Different casting plasters call for different amounts of water, so follow the ratio and working-time guidance supplied with the product. Measure what you need before starting, and use a clean container. A common mixing approach is to add plaster gradually to the measured water, let it wet through, then stir gently until the mixture is even. Vigorous mixing can introduce bubbles that appear as pits on the finished surface.
Prepare the mold before you mix. Have a stable work area, a tool for guiding the pour and a place for the cast to rest while it sets. Plaster powder can irritate the lungs, so avoid raising dust and use suitable protection and ventilation when handling it. Setting plaster generates heat; do not use ordinary casting plaster directly on skin or cast a body part with it. Make only what you can pour within the product’s working time.
Plan the release before pouring
Release is the process of separating the cast from the mold without damaging either one. Whether a release agent is needed depends on the mold material and the plaster being used. Some flexible molds release plaster readily, while porous or rigid surfaces may need sealing, a compatible release agent, or both. Check the materials’ instructions and test an inconspicuous area: too much release agent can soften fine detail or leave marks.
Pour slowly into one area and let the mixture flow across the mold. For intricate surfaces, gently guide a small amount of plaster into recesses before filling the rest. Lightly tapping the outside of a suitable mold may help bubbles rise, but excessive movement can shift a multi-part mold or disturb a carefully arranged surface. If the mold has separate pieces, secure them before pouring and watch for leaks.
Unmold, finish and learn from the result
Allow the cast to set for the time recommended for your plaster. A cast that feels firm may still contain moisture and have fragile edges, so release it patiently. Ease a flexible mold back rather than pulling on a thin part of the cast. With a multi-part mold, remove its sections in a planned order. Let the object dry further before finishing it according to the plaster product’s guidance.
Small flaws can be useful clues. Pits may point to trapped air; broken edges may suggest early unmolding or a difficult undercut; a soft-looking surface may reveal a mold or release issue. Record the mix, mold preparation and pouring method for each attempt. In creative practice, those notes make it easier to repeat a successful cast—or deliberately change the process when an unexpected texture suggests a new direction. Let leftover plaster harden for disposal according to local guidance rather than washing it down a drain.