How a relief print works
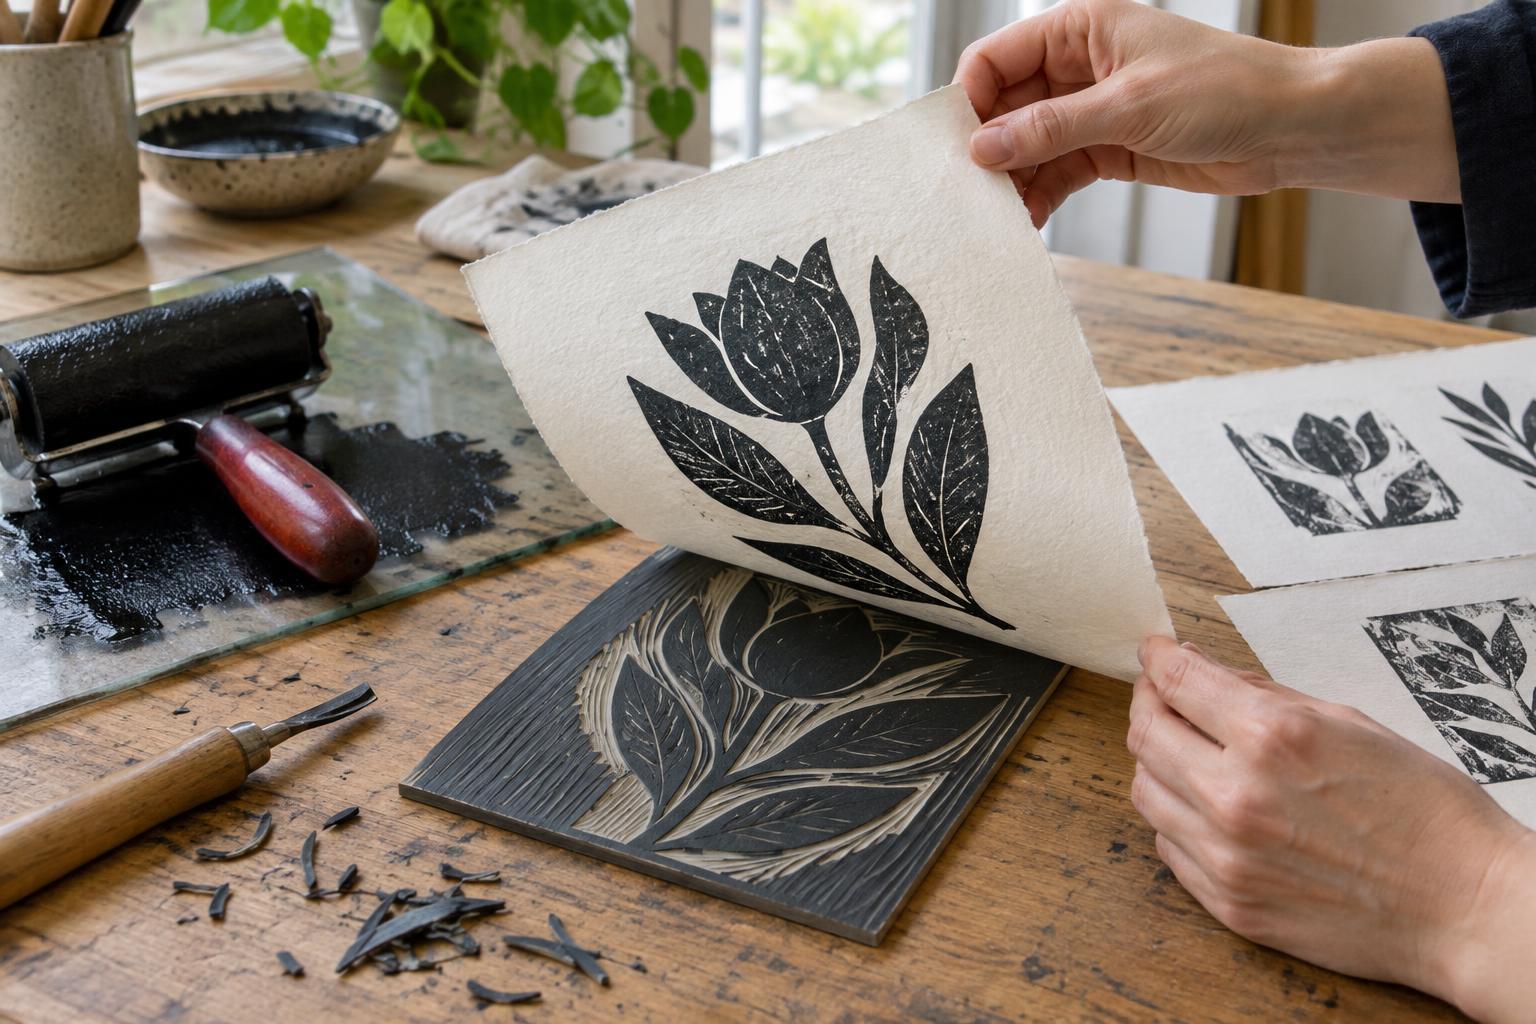
Relief printing begins with a raised surface. Ink is rolled across the parts of a block that remain after carving, while recessed areas usually stay uninked. Paper is pressed against the block and lifted away to reveal the image. A simple stamp follows the same principle, but a larger block offers more room to explore line, texture and shape.
Linoleum and soft carving blocks are approachable choices for a first project. Wood can produce different marks but may require more demanding tools and preparation. To start, use a small block, a carving tool suited to its material, a brayer, relief ink, a smooth surface for rolling ink, and paper for tests. Choose an ink whose drying time and cleanup instructions fit your workspace. A few careful impressions will teach you more than an elaborate block that is difficult to finish.
Plan for the marks that stay
Draw a design with clear areas of dark and light. Anything left at the original surface can receive ink; anything carved away will generally appear as the color of the paper. This reversal is worth thinking through before cutting. Letters and directional images also print in reverse, so check their orientation by viewing a sketch in a mirror or flipping a digital drawing.
Begin with bold shapes rather than closely spaced details. A narrow raised line may break during carving or disappear if too much ink fills the spaces around it. Leave a margin around the design if you want a clean edge. You can transfer a drawing to the block or sketch directly on it, then mark the areas to remove. Keep a reference image nearby: once carving begins, the block can become harder to read than the intended print.
Carve slowly and test early
Secure the block on a stable surface and carve away from your hands and body. Turn the block instead of twisting your wrist to follow a curve, and use shallow cuts before removing more material. Carving tools can slip, particularly when pushed through resistant areas. A bench hook or another suitable restraint can help keep the block from moving. Follow the tool maker’s guidance, and put tools down when adjusting your grip or position.
V-shaped cutters tend to make fine lines; wider U-shaped cutters can clear larger areas. Rather than trying to empty a broad space in one pass, remove it gradually and inspect the surface in good light. Small bits left in a cleared area may print as unexpected specks. Those marks can be useful if they add energy to the image, but a test print lets you decide whether to keep them. Remember that removed material cannot simply be put back.
Roll out ink and pull the impression
Place a modest amount of ink on a smooth plate or other surface recommended for your ink, then roll the brayer back and forth until it carries a thin, even layer. Roll across the block in more than one direction to reach the raised areas without packing ink into the cuts. Too little ink can make the image patchy; too much can blur fine marks and soften edges. Start lightly and adjust after seeing a print.
For a hand-pulled print, lay paper onto the inked block and keep it from shifting. Rub the back evenly with a clean baren, spoon or other smooth tool, giving particular attention to corners and broad solid areas. Lift one edge carefully to check the transfer, then peel the sheet away. Ink, paper and block material all affect how much pressure is needed, so treat the first impression as a test rather than a verdict.
If you want repeated images in a consistent position, make a simple registration guide from a backing sheet with marks for the block and paper edges. Even a basic guide reduces guesswork between impressions. Set fresh prints somewhere they can dry without touching each other, and clean the block and tools according to the ink manufacturer’s instructions.
Let each print inform the next
Compare the first few impressions before changing the block. If every print has the same unwanted dark mark, it may come from a raised spot that needs carving. If a solid area prints unevenly only sometimes, look first at inking, pressure or paper movement. Change one thing at a time so you can understand its effect.
Relief printing is repeatable without being mechanically identical. Slight shifts in ink coverage or pressure can give each sheet a different character. Once the block prints as you intend, you can explore paper color, ink color and deliberate changes in coverage. The useful habit is to notice what the material does, make a measured adjustment and print again.